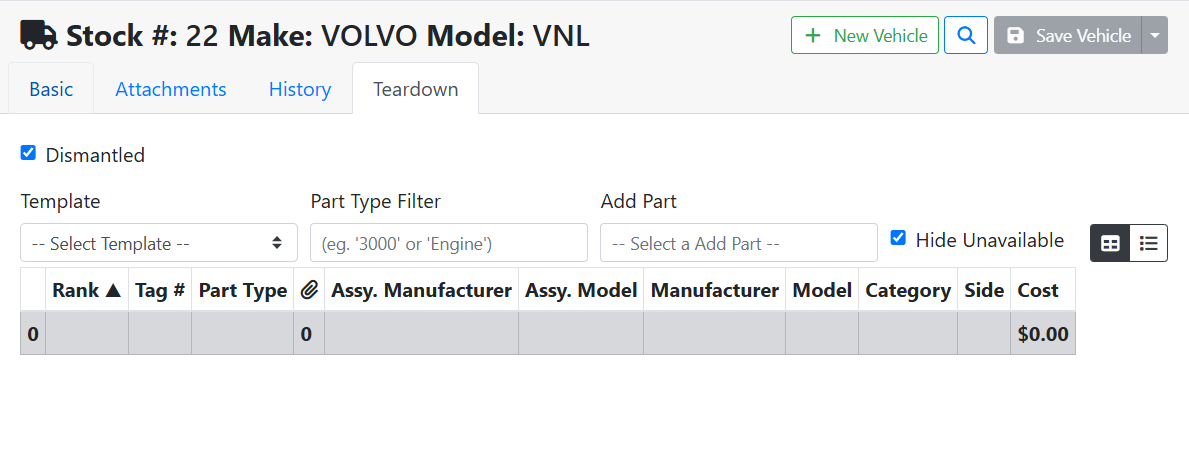
The Teardown tab in ITrack lets you enter the parts you plan to pull off of a parts vehicle. You can do this whenever it makes sense for your workflow. Creating a teardown list uses the same process no matter what stage of the vehicle lifecycle you are at.
For example, you might create a vehicle teardown list during the bidding stage, to help you find your profit margin and an acceptable bid amount based on the parts you expect are salvageable from the vehicle.
You might create a teardown list on a vehicle you just purchased, so that you can create a list of pullable parts for sale.
You might create a teardown list during the dismantling process, as a convenient way to inventory parts as you pull them.
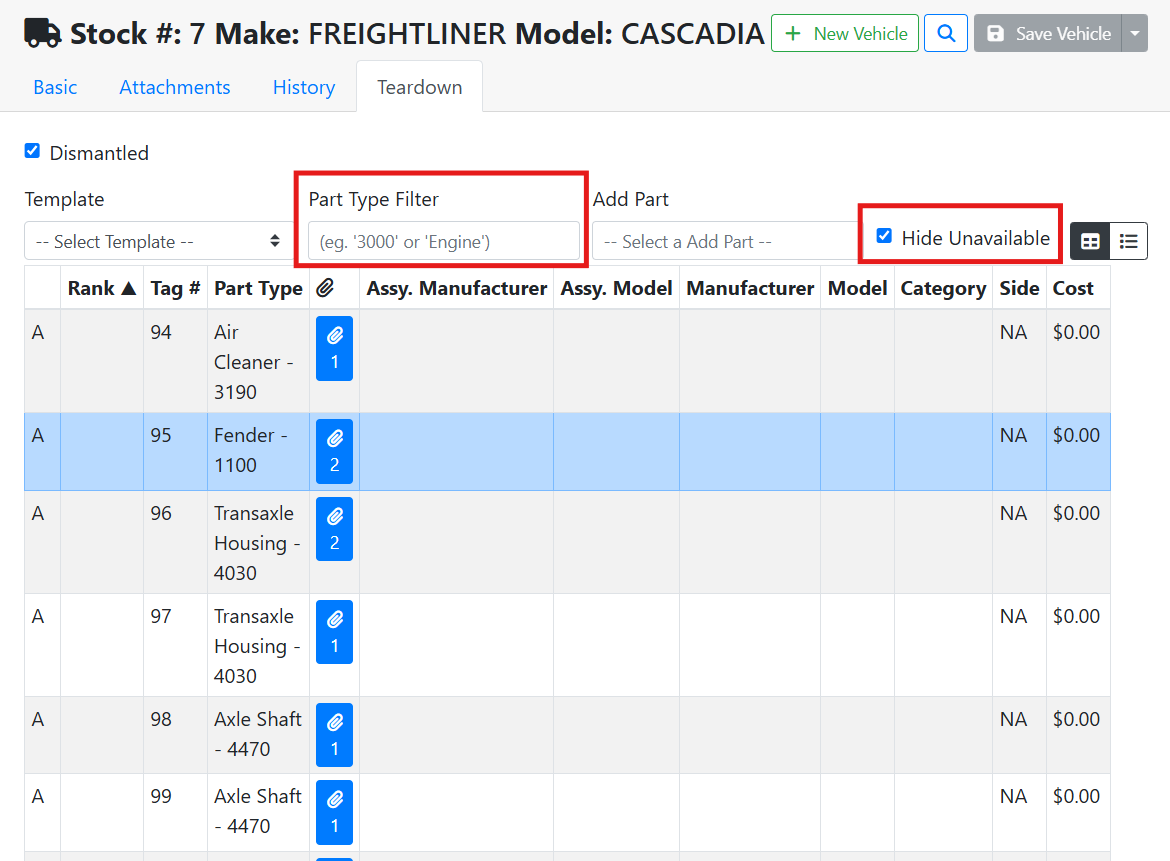
Once you have added parts to your teardown, you will see them listed in the table. Use the Part Type Filter to search for a specific part. The Hide Unavailable checkbox toggles whether parts that are not available will show in the list or not. For example, sold parts will not show if the checkbox is checked.
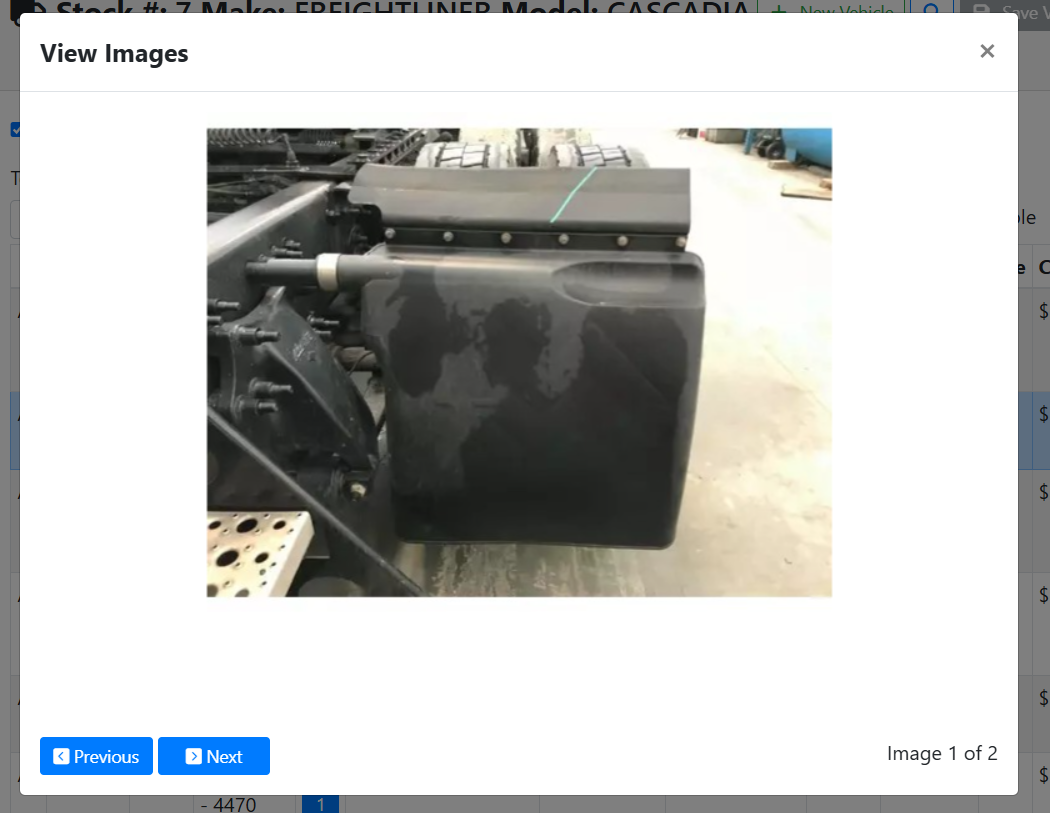
Click on the Attachments button ![]()
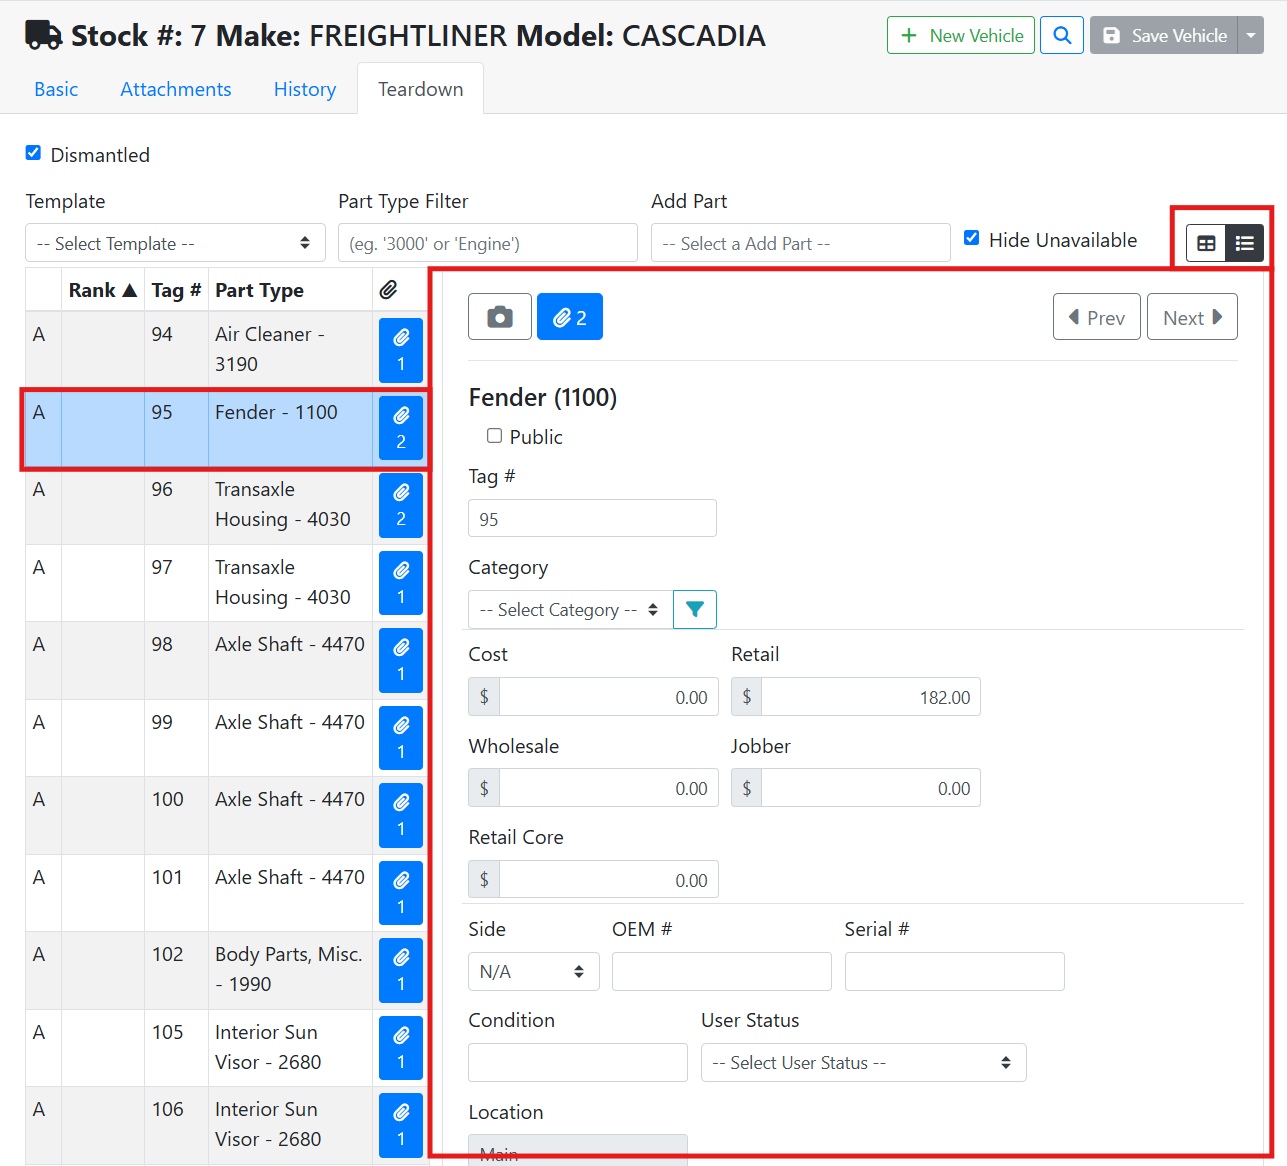
Click on a part to open a detail view of the part. The detail view will open in a new window if you are on a smaller screen. If you are on a larger screen, you can open the part details on the right hand side by toggling the view style button ![]()
🔧 Creating a Teardown From a Template
It is recommended that you set up templates to make the teardown process a lot easier. Click the Template menu and select your teardown template.
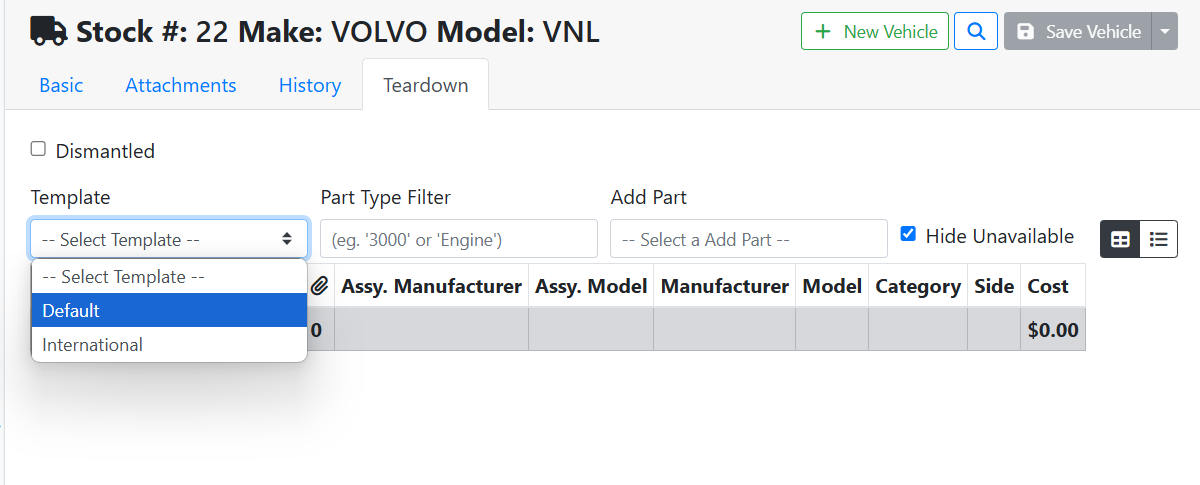
Teardown Templates can only be created or managed in ITrack Enterprise desktop edition at this time.
The parts table below will pull a list of parts from the template.
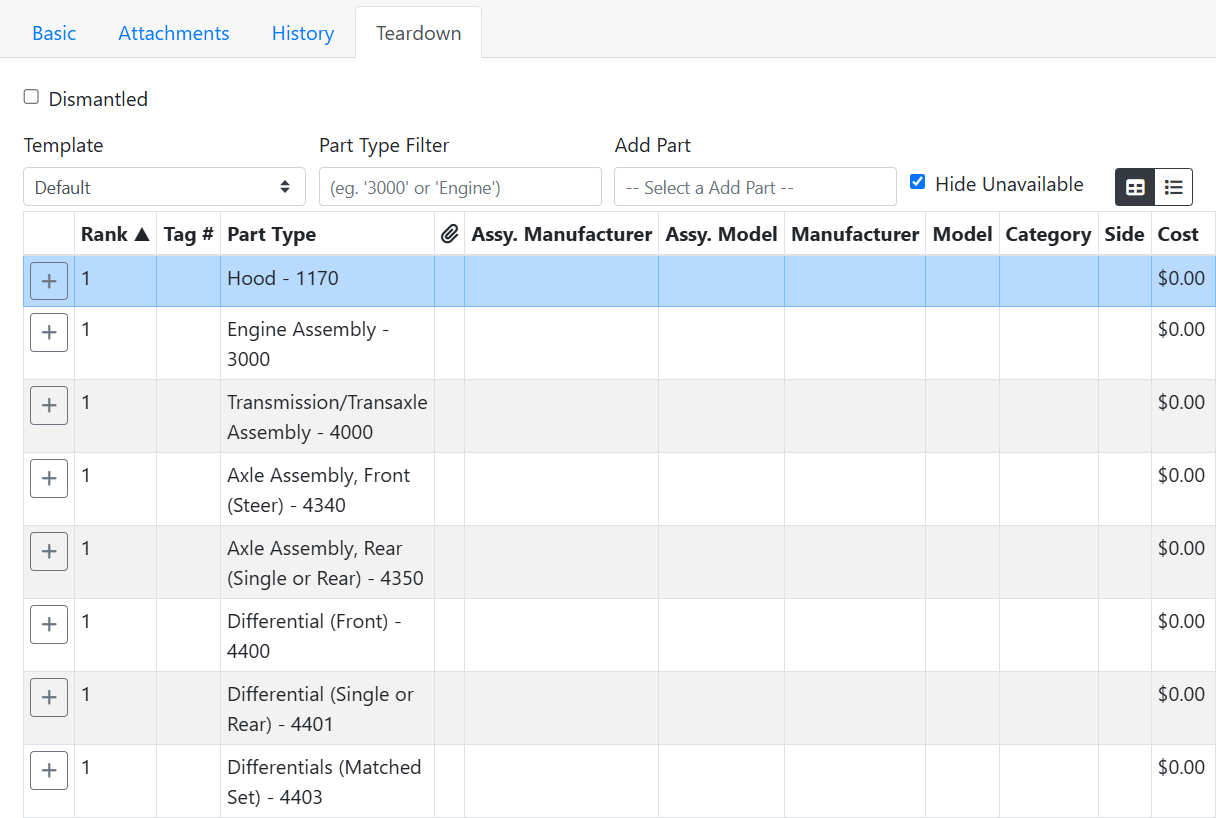
The parts won’t automatically be added to the vehicle, though, since not all parts will be salvageable from all vehicles depending on their condition. You can go through the parts list and determine which ones you’re adding to this vehicle by clicking the plus ![]()
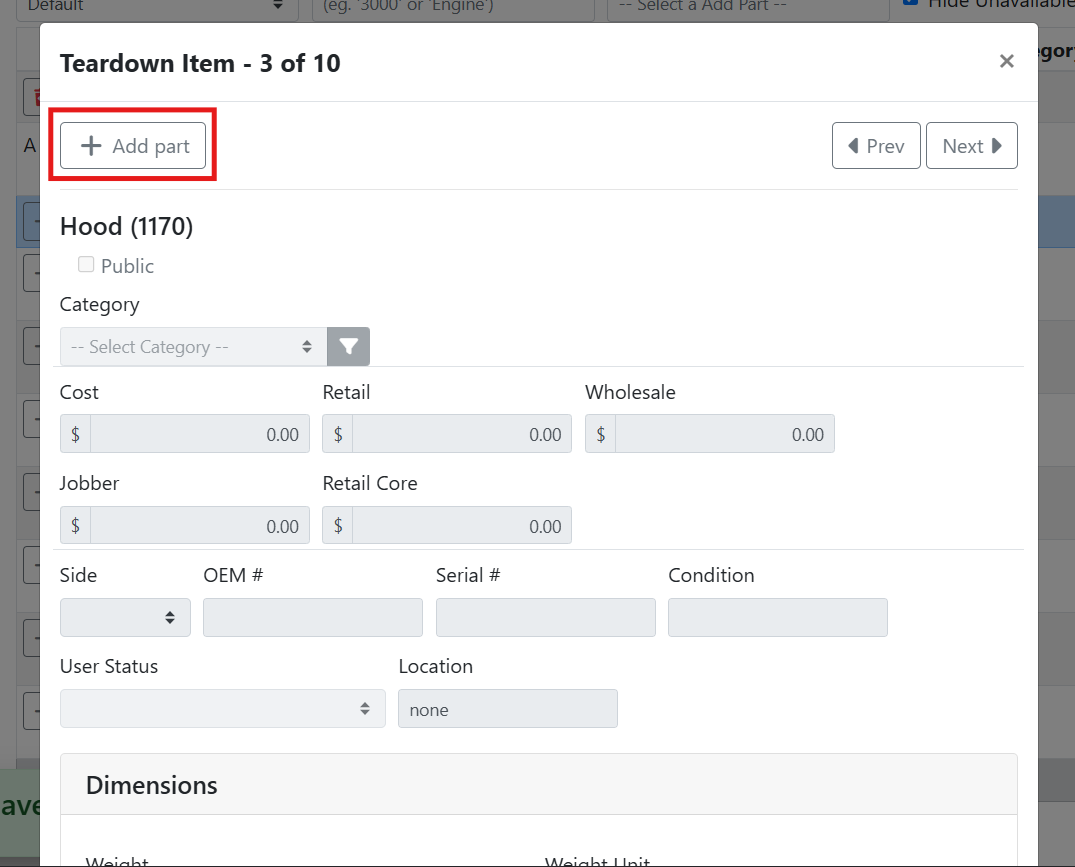
You can also click on an item and a window will open. Click the +Add Part button to add it from this window. You can also use the Prev and Next buttons at the top to switch from part to part while this window is open, which can be especially handy on a mobile device.
🔧 Adding Individual Parts to a Teardown
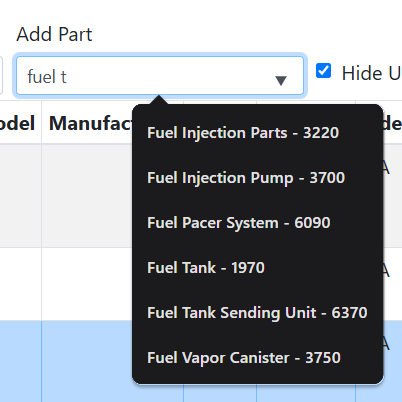
If you don’t have templates configured yet, or you need to add a part that isn’t in your teardown template, you can click the Add Part menu to find a part to add.
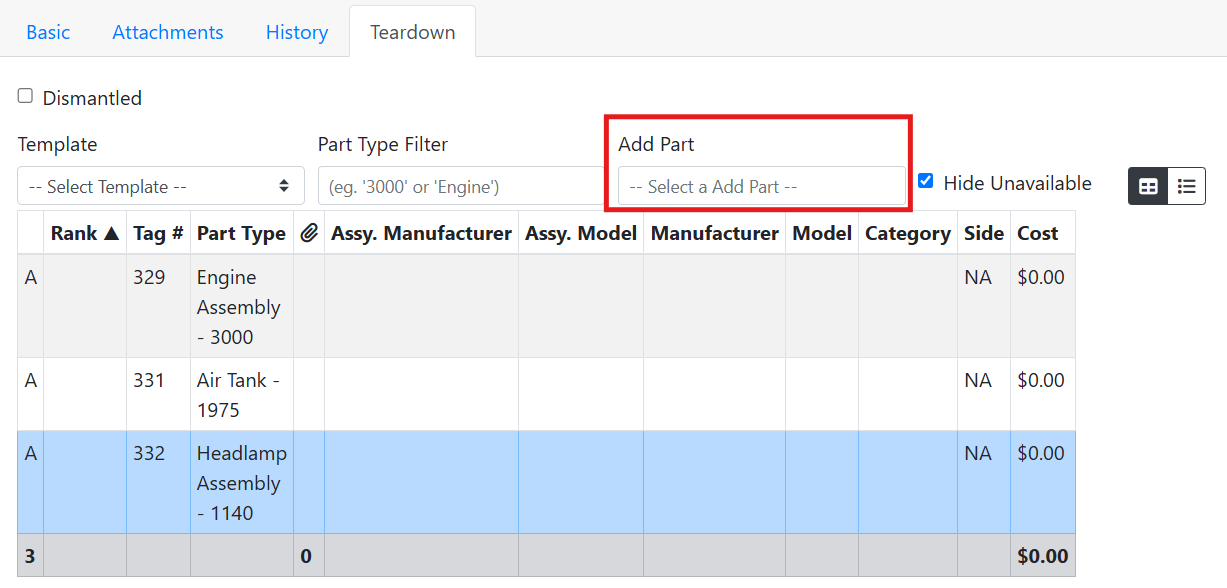
Since you likely have a lot of part types, it works best to start typing to filter the list. ITrack will continually narrow the list based on what you type. Once you find the part type you want, click to add it.
If you added your part on the Part screen before you started a vehicle teardown, you can also add your part to your vehicle later. Read more about adding a part to a vehicle.
➖ Removing Newly Added Parts
Newly added parts have an Undo New Part button. Click this to delete a part that was added by mistake.
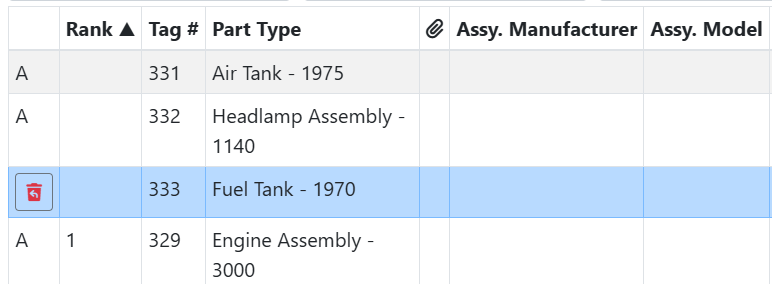
Once the part has been saved, the status will change to A - Available, and you would need to go to the part record if you need to delete it.
🔧 Adding Details to a Teardown Part
Click on any part to open a part detail window. If you add all of your parts first, you can quickly switch from part to part by using the Prev and Next buttons at the top. You can also do this when using a template, to add parts from a template and their details at the same time.

Enter the details on the part that are relevant to the teardown what stage of the vehicle life cycle you’re at. You can add more details on the part record later if needed. Usually the most important details to capture at this time are the parts' Category/Condition, Manufacturer, Model, Side, Photos and Video.
It is recommended that you leave the Cost field 0.00, so that you can use Percent Of Price Costing. Manually overriding the part cost during teardown is not recommended since the cost evaluation won’t be supported by any documentation.
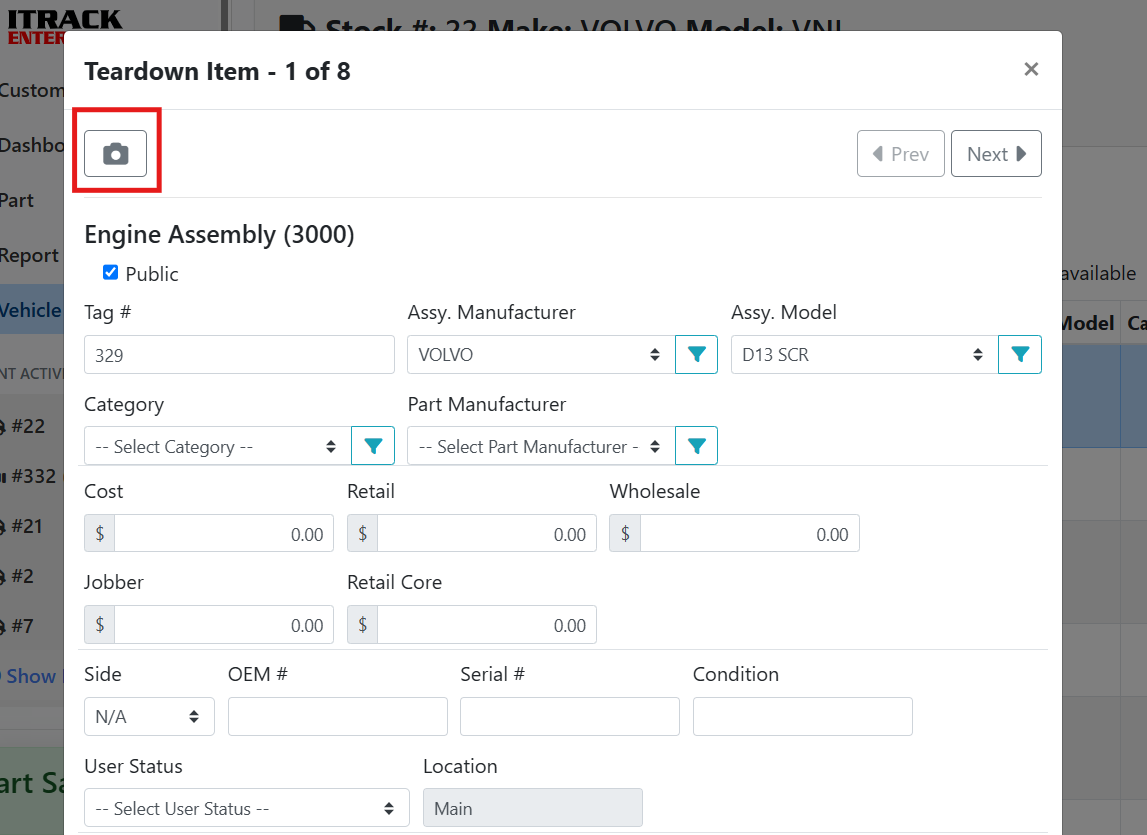
📷 Taking Pictures and Video During Teardown
The easiest way to add parts images during teardown is to log in to ITrack from your smartphone. This way you can go through parts sequentially, take photos, and upload them while you’re out in the yard with the vehicle.
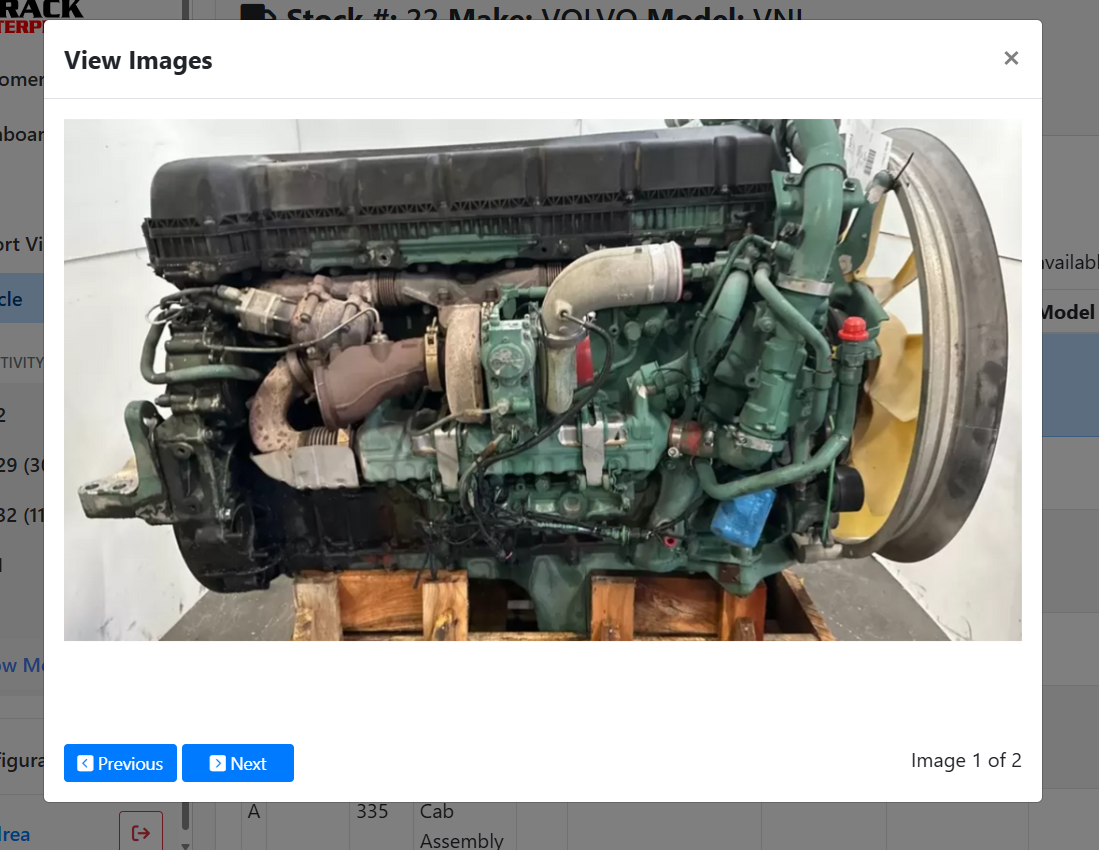
To upload pictures as you take them on your smartphone, open the part, and click the camera icon in the upper left.
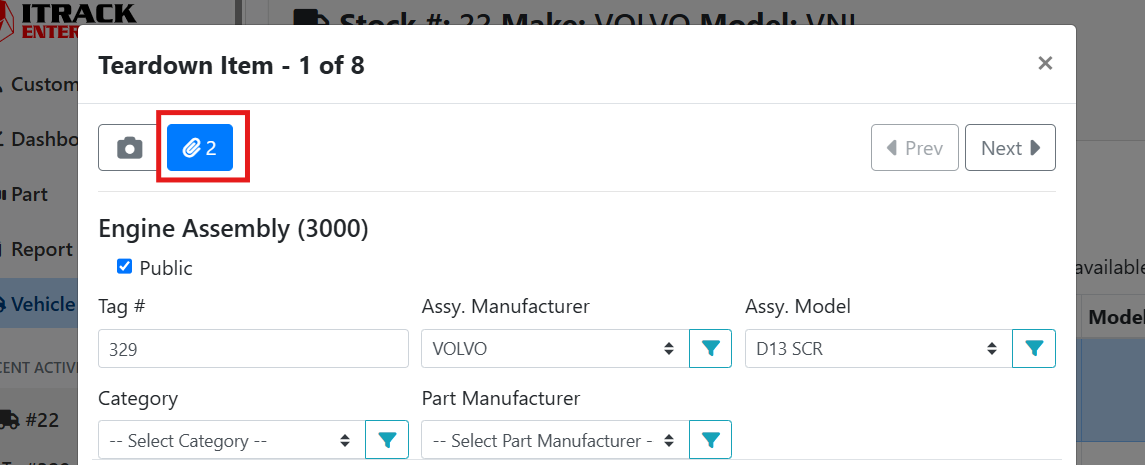
Your browser might ask for permissions to access the camera, then it might ask you whether you want to take a picture or video or upload something from your photo library. Note: all devices are different, so your experience may vary. Once you take a picture, you will see the attachment icon on the part record. You can tap the image icon to review the images attached to the part.
If you’ve already taken images, you can upload them directly from your phone as well. Scroll down on the part details page, and click the Browse button next to Add Attachments. Your phone will will open your photo library where you can select multiple images to add at once.
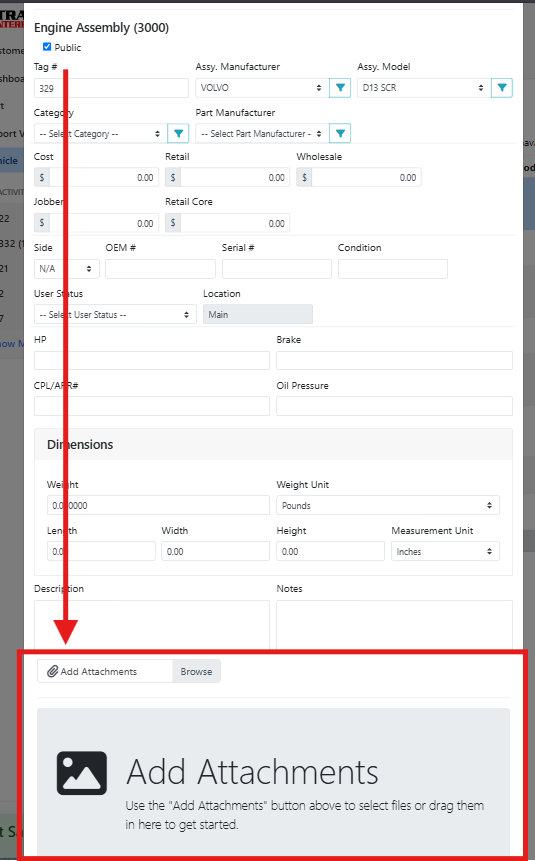
If you are using ITrack on a desktop computer or laptop, the camera button and the Browse button will both open a window on your computer to search for an image. You can also drag images directly into the attachments box at the bottom.
Read more about entering part details and managing part attachments, in the Parts articles.
▶️ Video Tutorial