Associate a vehicle to your part to keep track of what vehicle you pulled the part from. This can be useful for historical tracking of the part, so you can know all the parts you pulled from a single vehicle, when it was pulled, when the vehicle was purchased and scrapped, and so on. It can also be used to track vehicle profitability and sales performance.
Read more about vehicle history and sales performance.
Adding a part to a vehicle can be done either on the Vehicle Teardown screen, or on the Part screen. The method you choose depends on your workflow. If you want to inventory your parts while they are still on the vehicle, or as you pull them from the vehicle, you should use the Vehicle Teardown screen. If you want to pull the part, then enter it into inventory, you can add the part to the Part screen first, and then add it to the vehicle.
Read more about vehicle teardown
Select your part, then scroll down to the Vehicle section under Stocking.
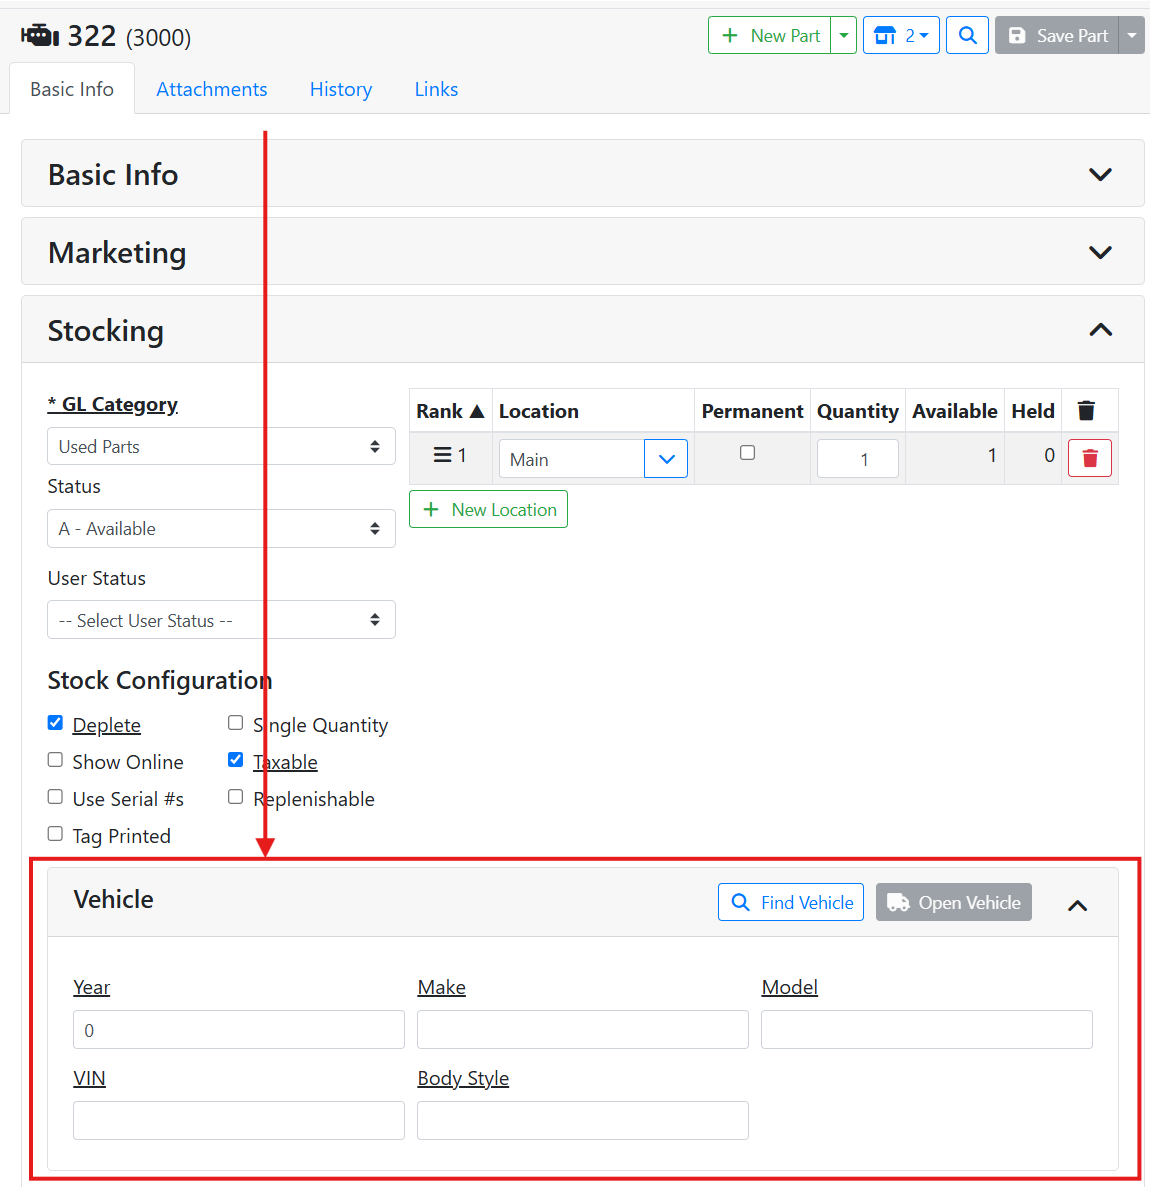
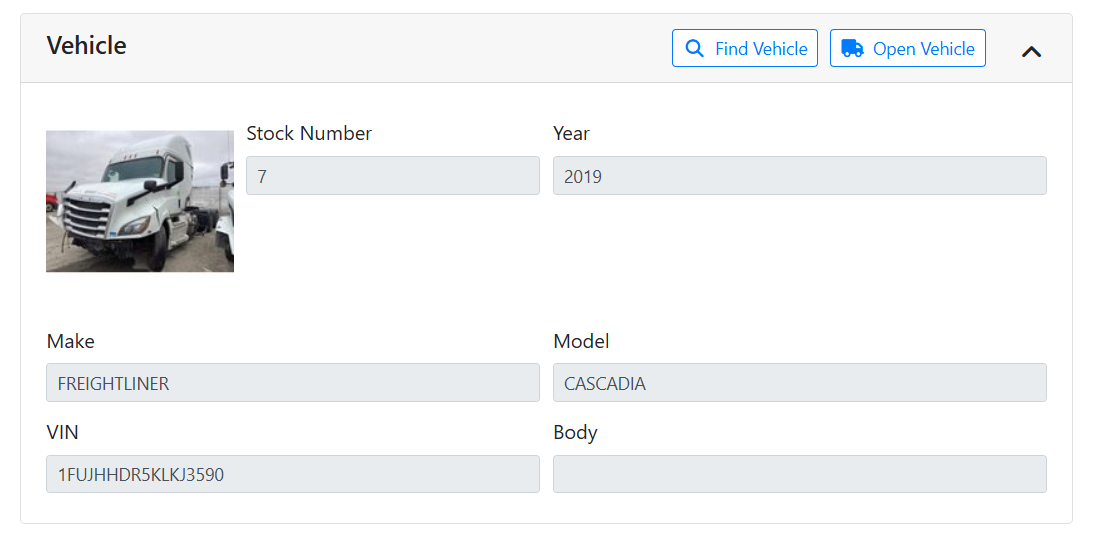
If you entered the part from the Vehicle Teardown screen, the vehicle information will automatically appear in the Vehicle box.
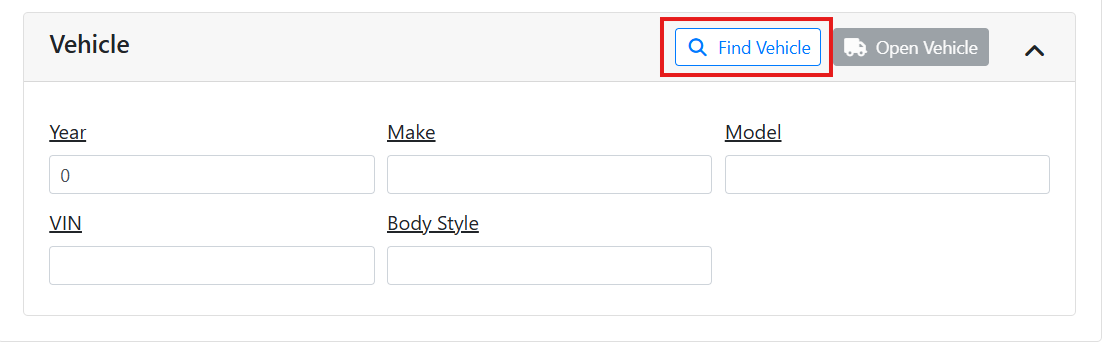
If this was an aftermarket part that you purchased and never had the vehicle in stock, you can directly enter the vehicle information in these fields. To associate it with a parts vehicle you purchased, use the Find Vehicle button at the top.
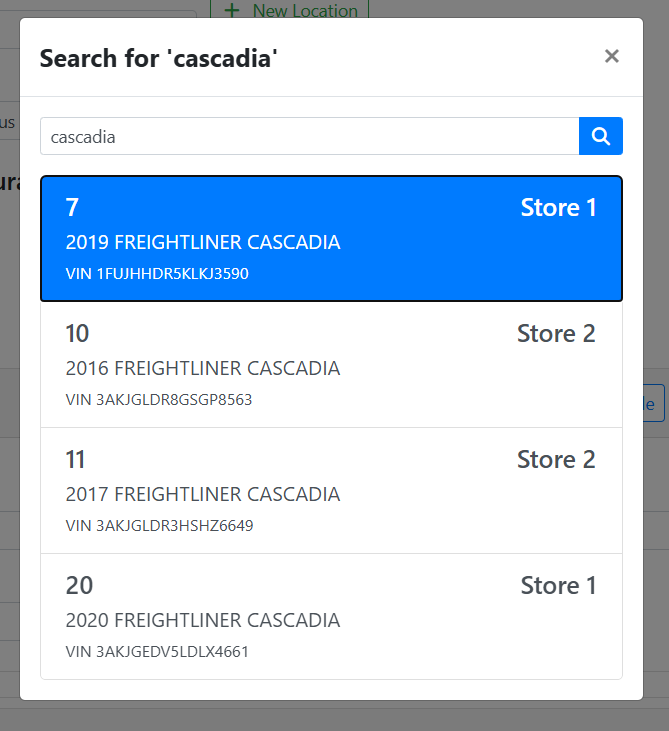
A window will open where you can search for a vehicle or enter a vehicle VIN or Stock #.
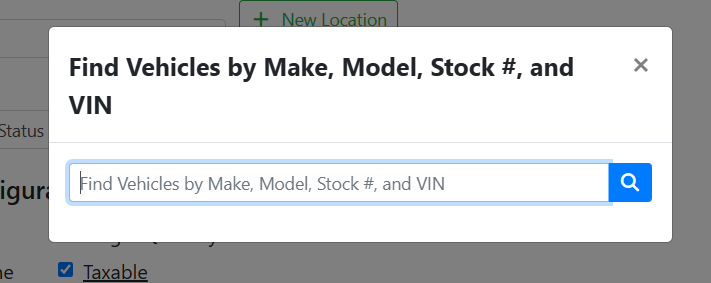
If you don’t have the VIN or Stock # handy, you can search for the vehicle by Make or Model.
In this example, I don’t want to look up the vehicle number, so I typed in the model ‘cascadia’. I have four matches, and just need to select the right one.
Once a vehicle is attached, you’ll see its info in the Vehicle box. Click the Open Vehicle button to open the vehicle on the Vehicle screen.