Assemblies are master parts that are composed of one or more sub-parts, also known as component parts.
You can list the components of an assembly so that they are available for search in case you want to pull a part off of an assembly when needed for a job or requested by a customer. When you list assembly components this way, they will be searchable with a quantity of 0, which lets you know they’re potentially available.
You can also do a full assembly breakdown, which breaks the entire assembly apart into its components and adds their quantity on hand to your inventory. When this happens, the assembly quantity will be reduced, and the cost of that assembly will be distributed to the component parts.
You can also perform a partial assembly breakdown, which takes some parts off an assembly while leaving the assembly intact. You can do this as many times as needed, as long as the integral parts of the assembly remain. When you take a part off an assembly, you can decide whether to distribute the cost at that time or not.
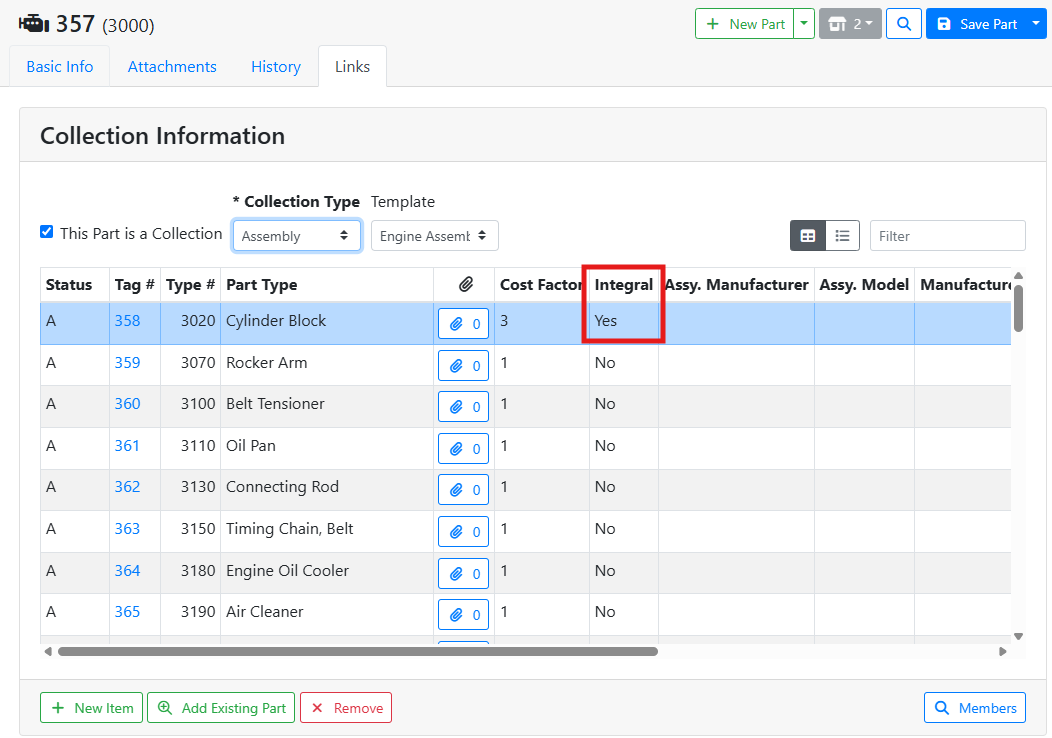
If a part is marked Integral, it means pulling that part will break the assembly, meaning the assembly’s quantity will be reduced to zero if the integral part is pulled.
For example, if I were to pull the cylinder block from an engine assembly, I don’t have an engine assembly any more. I have marked the cylinder block as Integral to the assembly.
The Cost Factor is the ratio of cost that will be allocated to each quantity of that part during a breakdown. If all parts have the same number in the Cost Factor, then each part will get an even split of the cost.
For example, if there are 20 parts each with 1 quantity in an assembly, and they all have a Cost Factor of 1, each part will get 5% (1/20th) of the cost. If there are 6 parts in an assembly, and 5 of them have a Cost Factor of 1 and 1 of them has a Cost Factor of 5, then the 5 parts with a Cost Factor of 1 will each get 10% of the cost, (1/10) and the part with the Cost Factor of 5 will get 50% of the cost (5/10).
You can add parts to an assembly, but to perform a breakdown you will need to use ITrack Enterprise Desktop to make a Work Order.
➕ Creating an Assembly
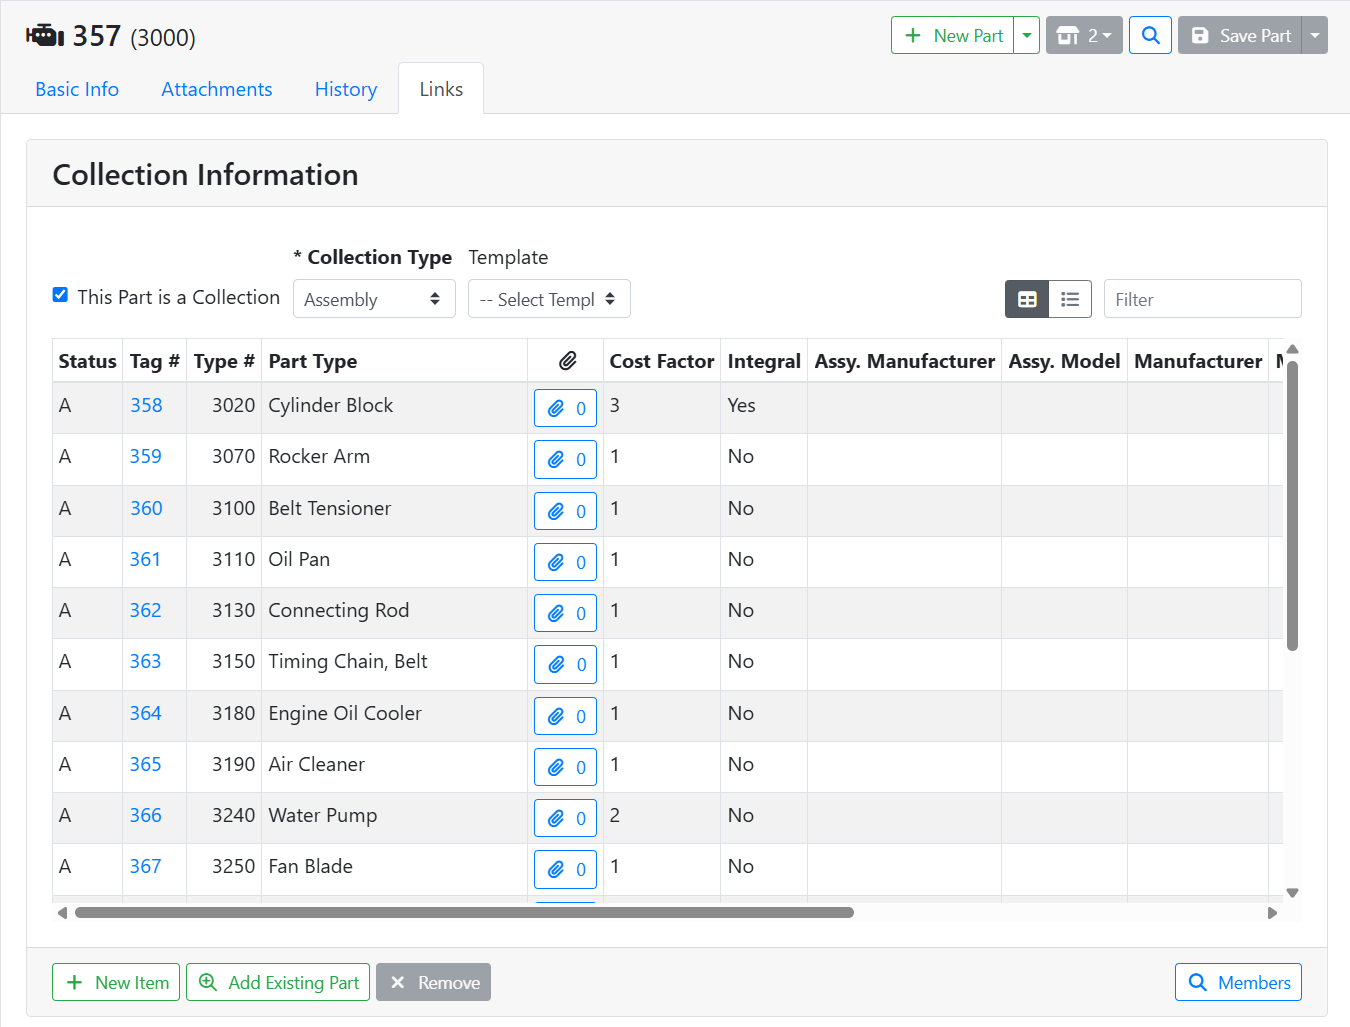
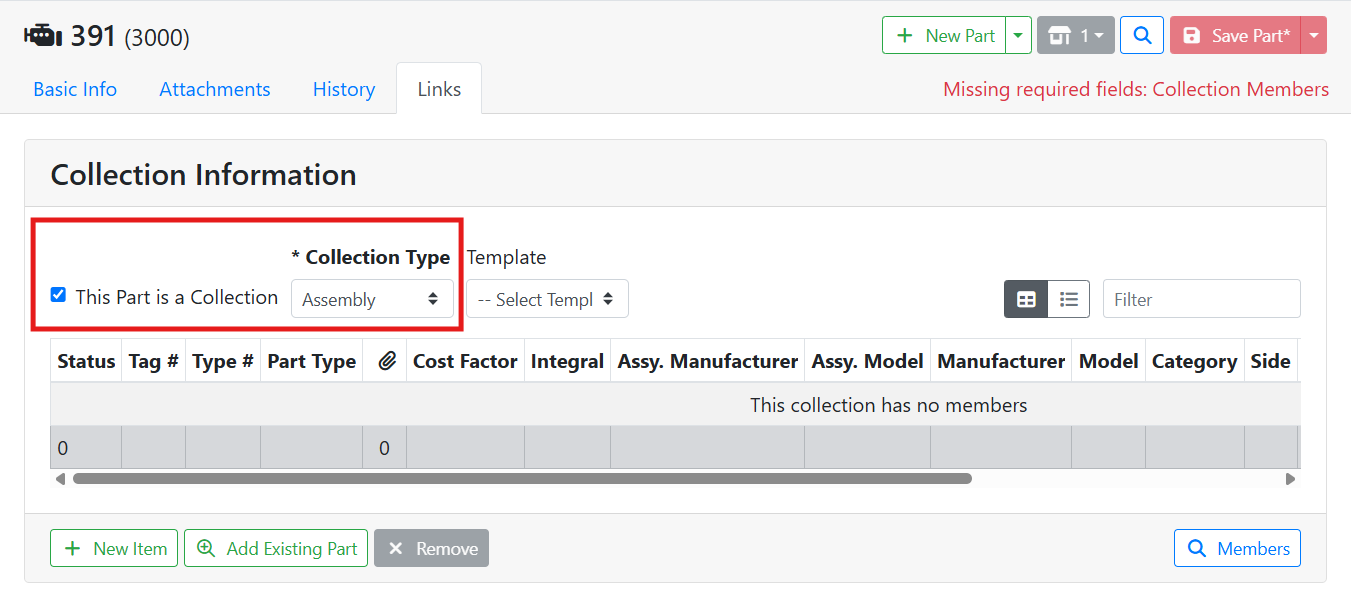
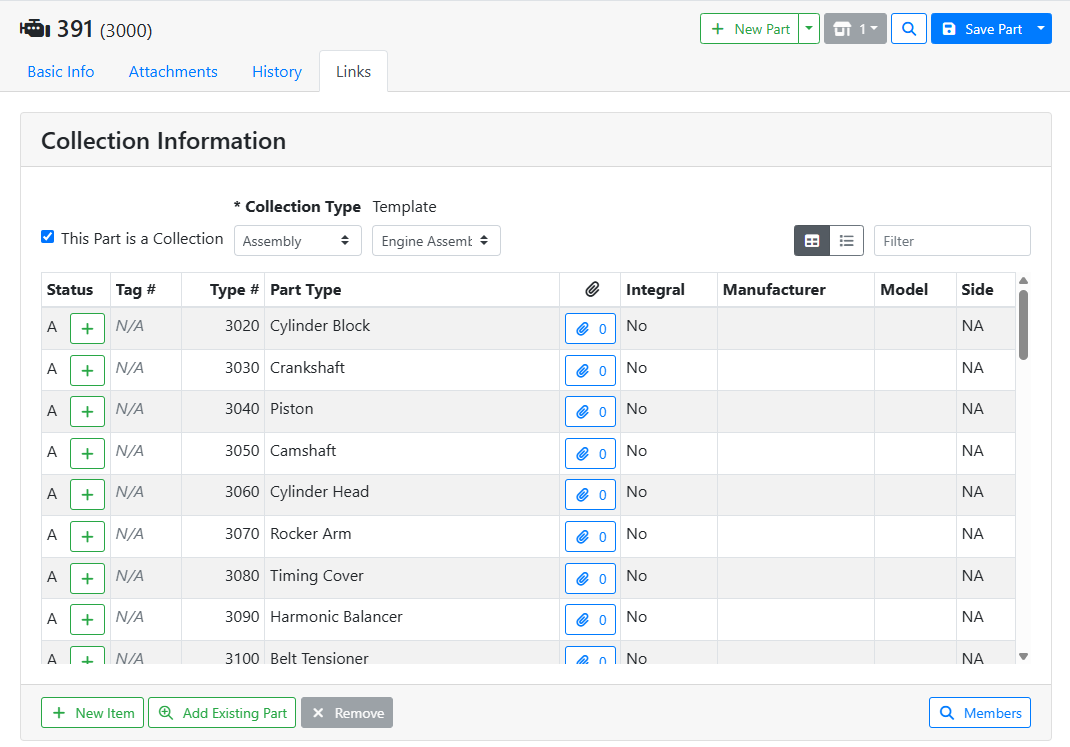
To list the assembly parts, toggle the checkbox This Part is a Collection, and pick Assembly from the Collection Type menu.
Next, you need to add members (component parts) to the assembly collection. You can either use an assembly template, add new items individually, or search for existing parts to add to the collection.
🧰 Assembly Templates
Using an Assembly Template is the fastest way to add members to the assembly collection. You will want to set up templates for assemblies that have a lot of parts to save you time.
Creating or editing an assembly template needs to be done in ITrack Enterprise Desktop at this time.
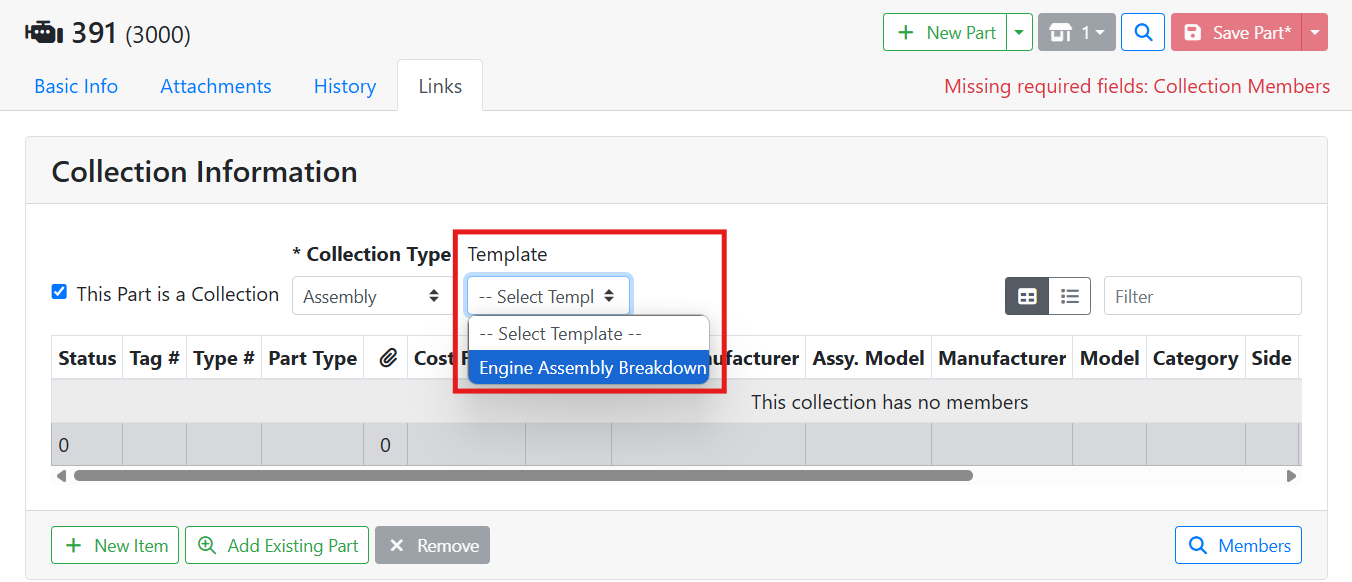
To use an assembly template, pick a template from the Template menu.
Assembly templates are specific to the assembly’s Part Type. If you don’t see any templates in the menu, make sure you have templates associated with the correct part type.
The collection member table will populate with a list of parts from the template.
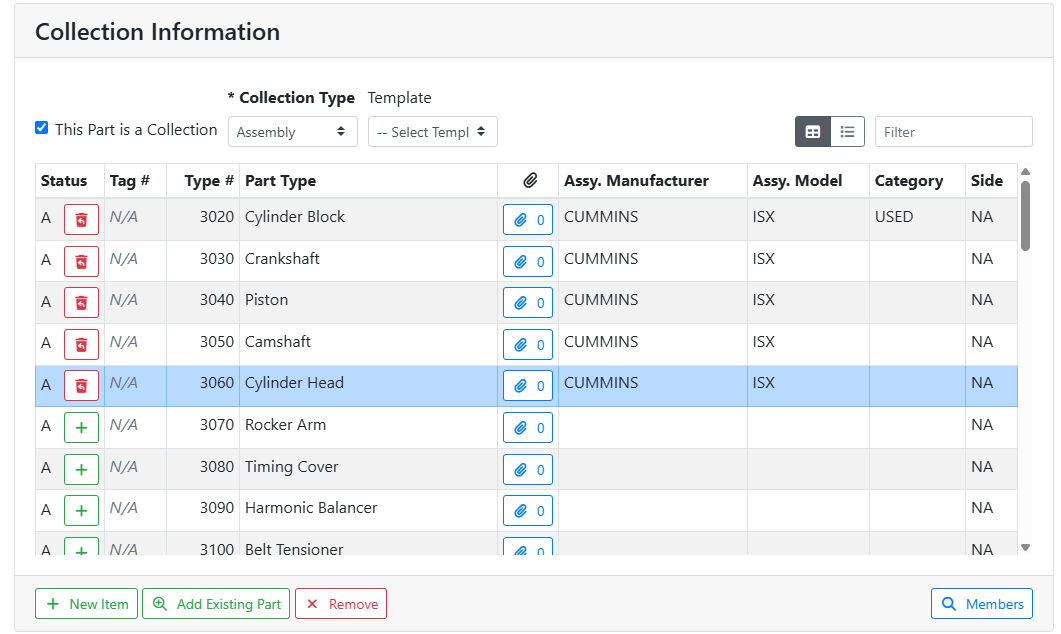
Parts are not immediately added to the assembly from the template. This allows you to have some generic templates and pick which parts from the template apply to this specific assembly. Use the Add ![]()
Parts you’ve added will change their icon and you will see the details you added in the table. Click the Attachment ![]()
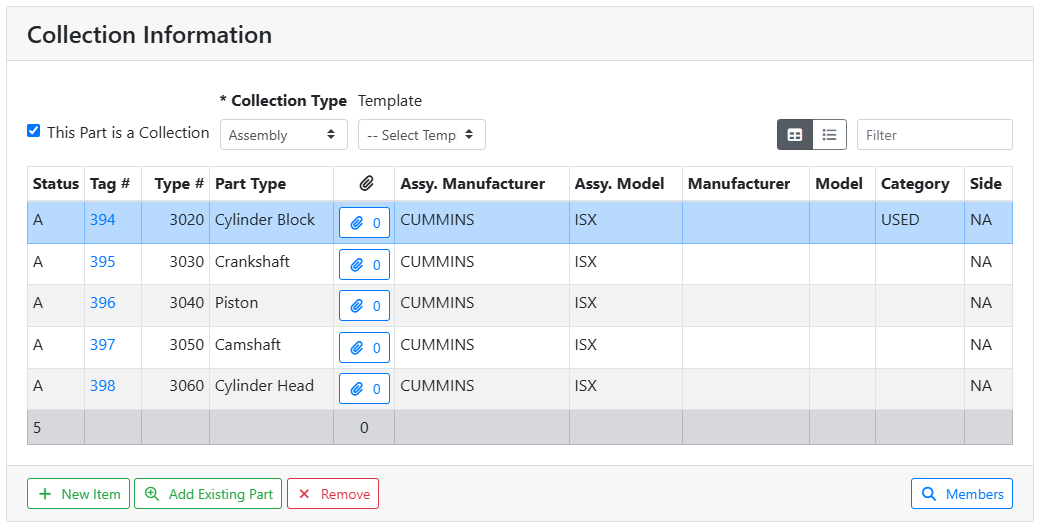
When you save your assembly, the unused template items disappear and your added template items will be saved and assigned tag numbers. You can continue adding more parts or modifying the parts in the assembly.
🧰 Adding Assembly Items Individually
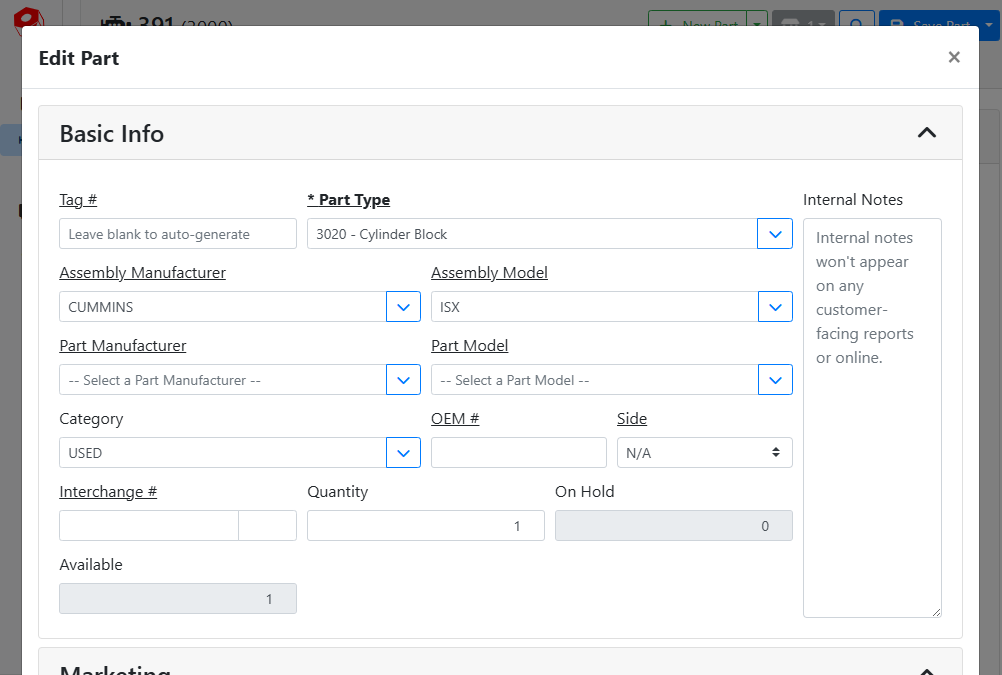
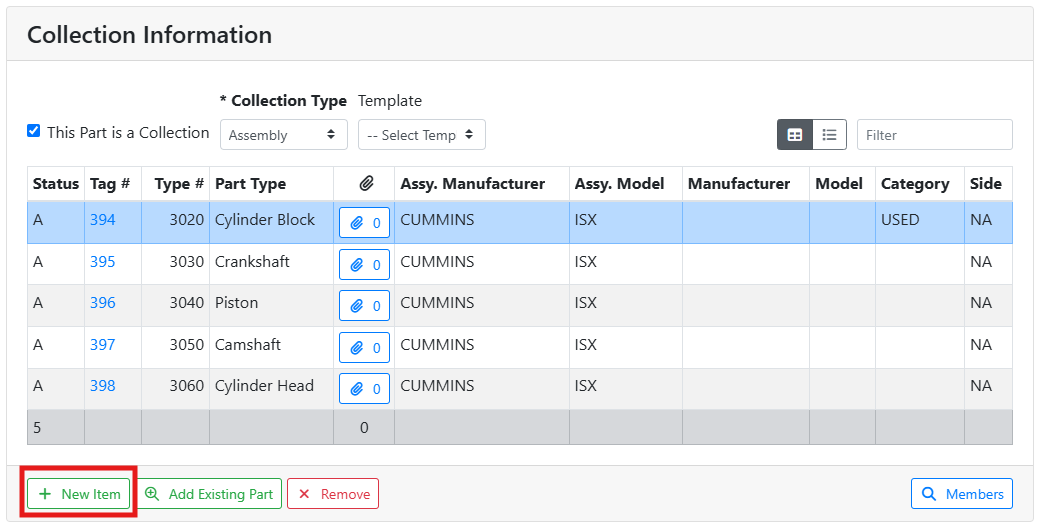
You can add parts to your assembly one at a time. This might be useful if your template didn’t include all items you need to add, or if your assembly only has a few items and you don’t have a template for it. To create a new part, click the +New Item button towards the bottom of the list.
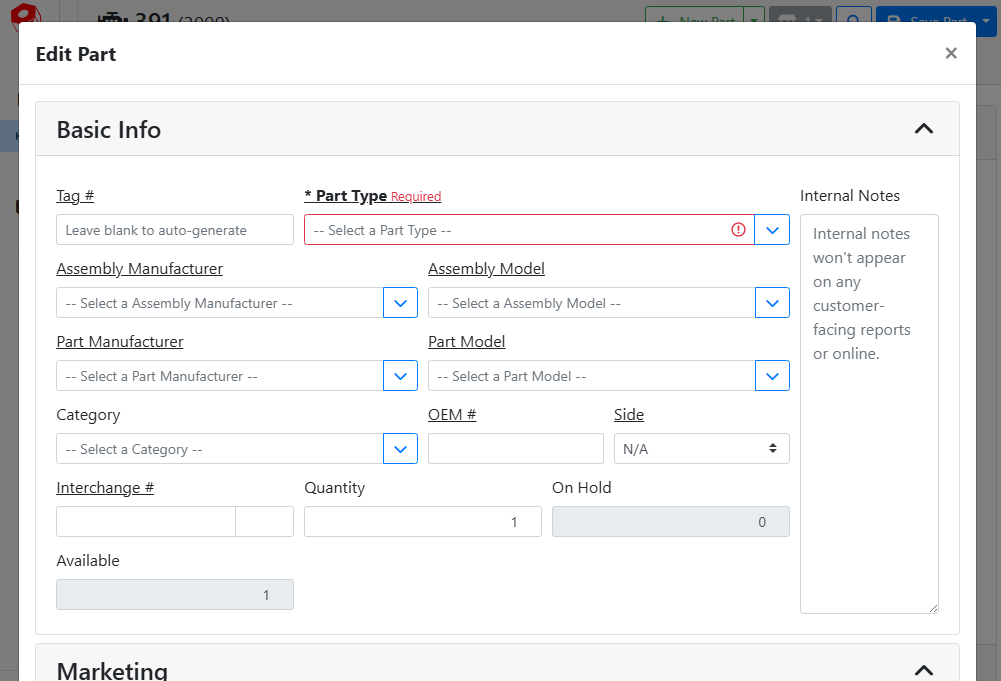
A window will open where you can input the part’s information. Click the close X button in the corner when you’re done.
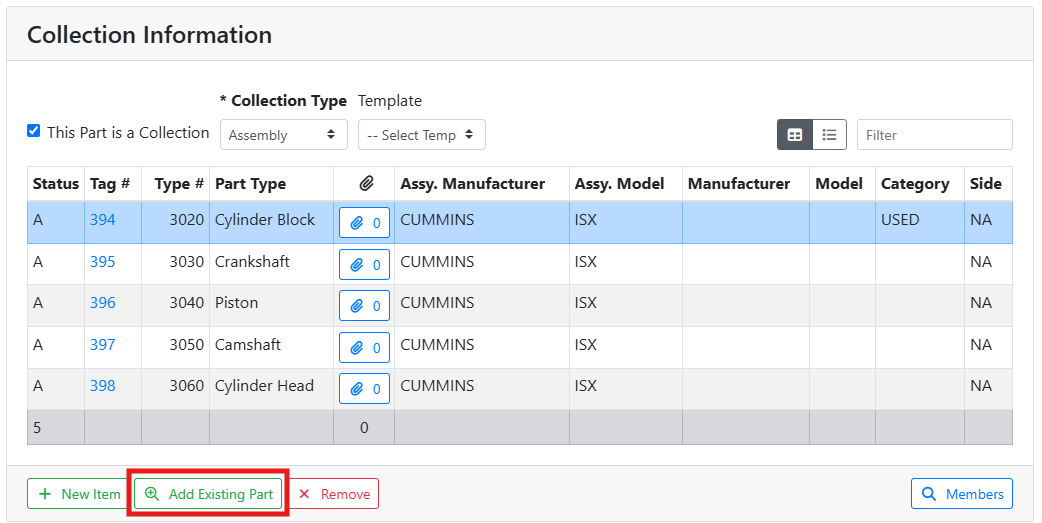
If you’ve already added the part to your inventory and you want to add it to this assembly, you can click the Add Existing Part button to search for it.
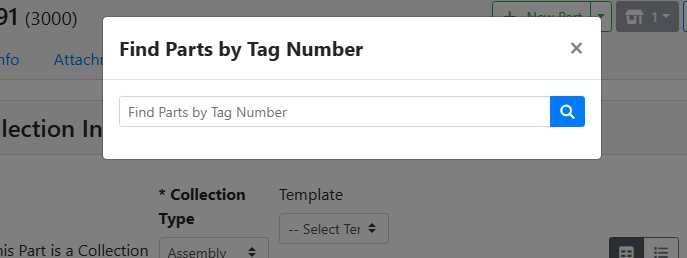
A window will open where you can enter a tag number to search for an existing part.
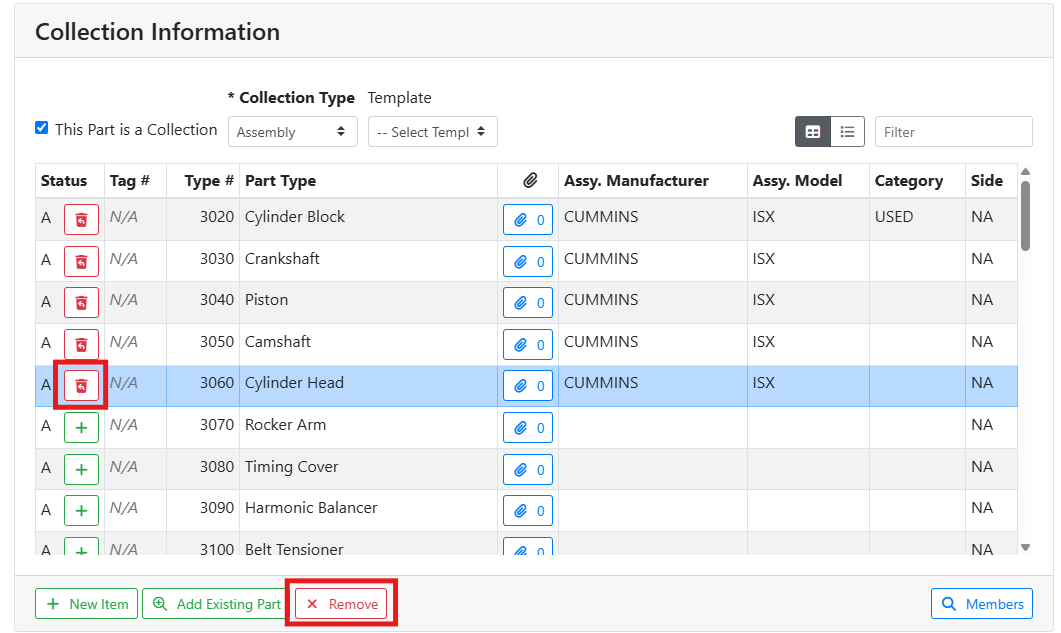
🗑️ Removing Items from an Assembly
If you add an item to an assembly by mistake, select the item and click the X Remove button at the bottom. If the item is new and hasn’t been saved yet, you can delete it by clicking the trashcan ![]()
🛠️ Assembly Breakdown
Starting an assembly breakdown creates a Work Order, where the master part is consumed to create the component parts in inventory.
Work Orders, and therefore Assembly Breakdowns, can only be done in ITrack Enterprise Desktop at this time.