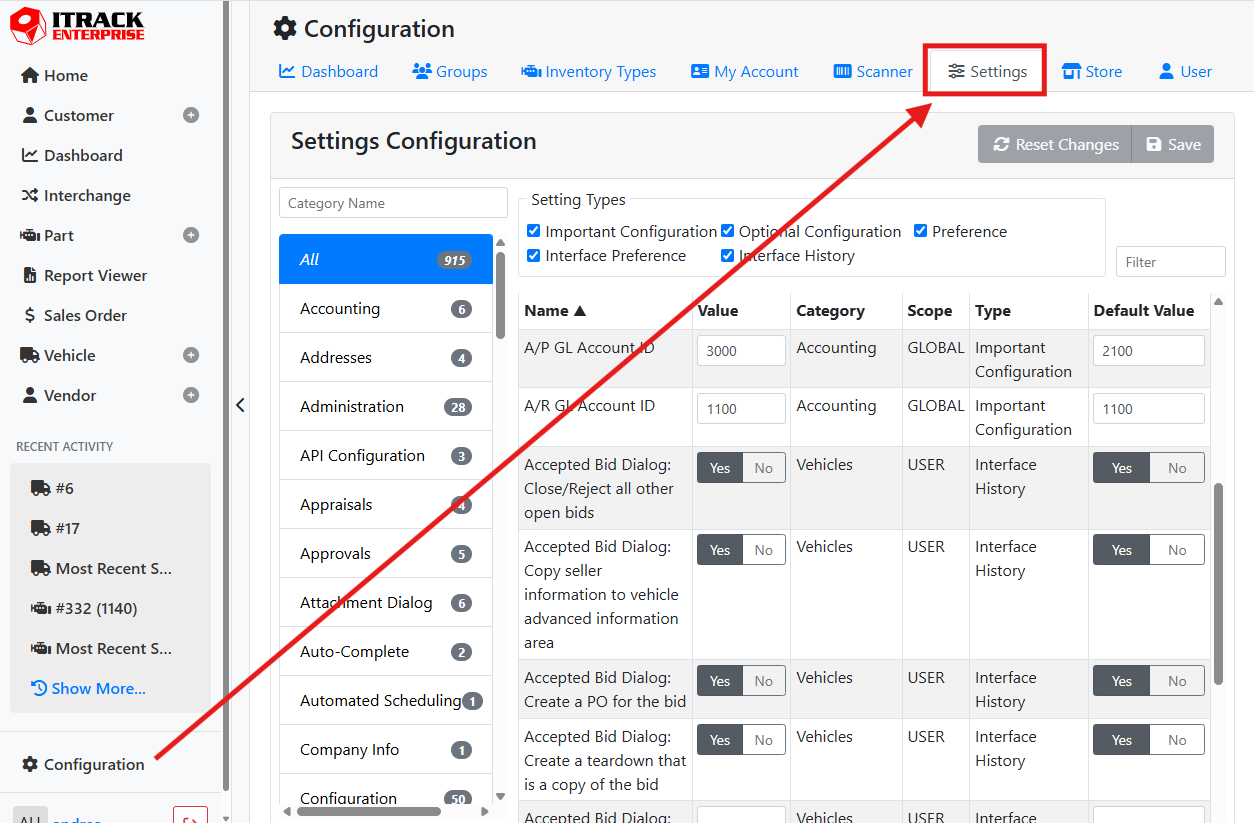
Settings let you generally control how the software behaves. Access settings by selecting Configuration, then select the Settings tab.
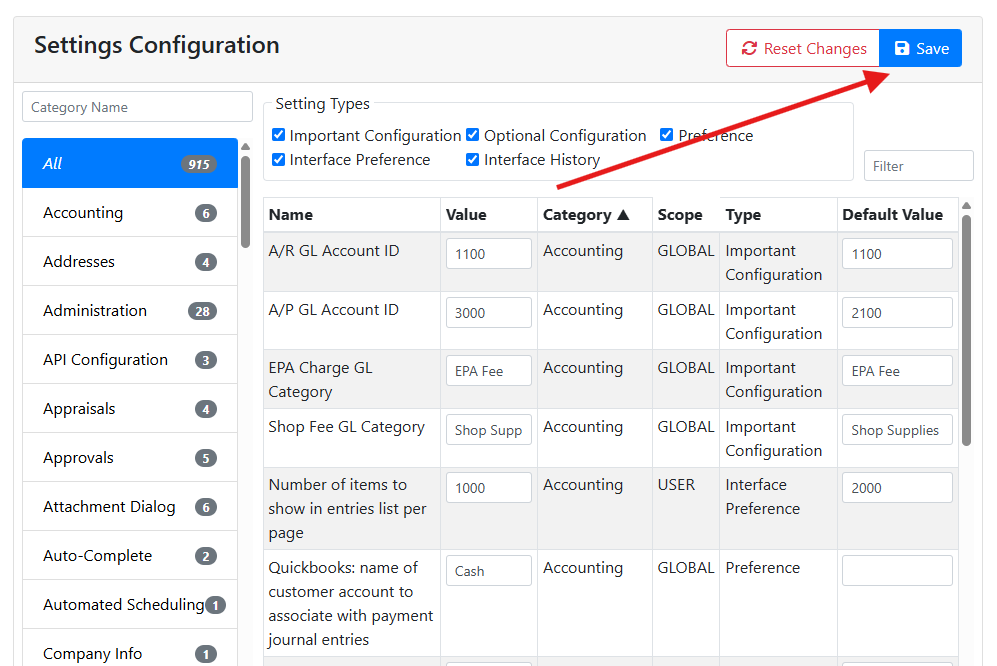
When making changes to settings, make sure to click Save in the upper right to commit your changes.
Some settings apply only to ITrack Desktop, such as dialog/window width, height, X, and Y positions. These settings will appear in the list but have no effect on the web application. Changing them in the web application will save them to your user and affect the next time you access ITrack from the desktop application.
⚙️ Settings Properties
Settings have several properties that are shown in the table.

Name - Generally describes the setting or what it does.
Value - The current value of the setting, such as Yes or No (on or off), a number, a list of options, etc.
Category - The general part of the software affected by the setting. You can also filter the table by category to make finding settings easier.
Scope - The scope indicates how broad the setting is when applied. Settings have 3 scopes; Global, Store, and User.
Global - Global settings affect all users and all stores.
Store - Store settings affect the store you are currently logged in to, but not necessarily every store.
User - User settings affect the person who is currently logged in. Most user settings affect your screen settings and default behavior.
Type - The type of setting generally describes what type of behavior it affects when applied. You can filter the table by type to make finding settings easier.
Default Value - New users and stores will start with the value defined in the Default Value. Defining default values will save you time when configuring new users or stores that don’t have a setting configured yet. Changing a default value won’t affect users or stores that already have a setting defined.
🔎 Finding a Setting
There are a lot of settings, so using filters will help you find what you are looking for. You can filter settings by Category, Type, or by using the filter control above the table. These filters can all be used together to significantly narrow the list of settings.
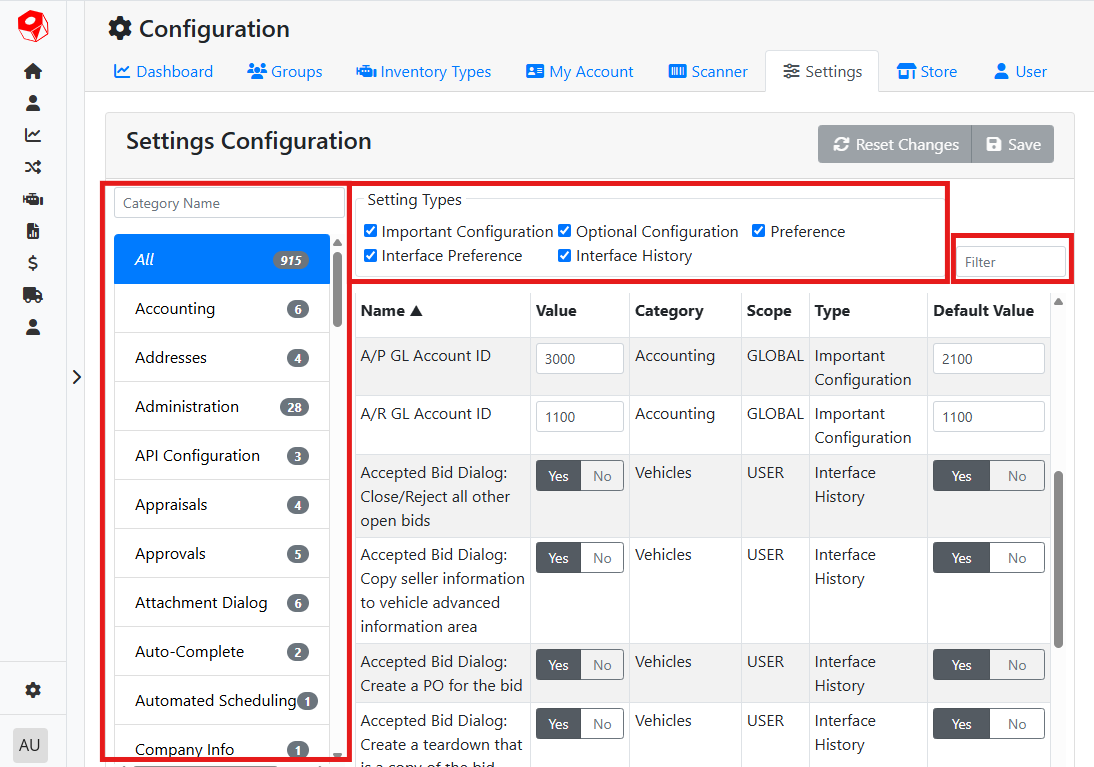
Categories on the left sort settings based mainly on what screen they affect. By default, All categories are selected. Selecting a category will only show you the settings in that category. You can use the filter at the top to find a specific category.
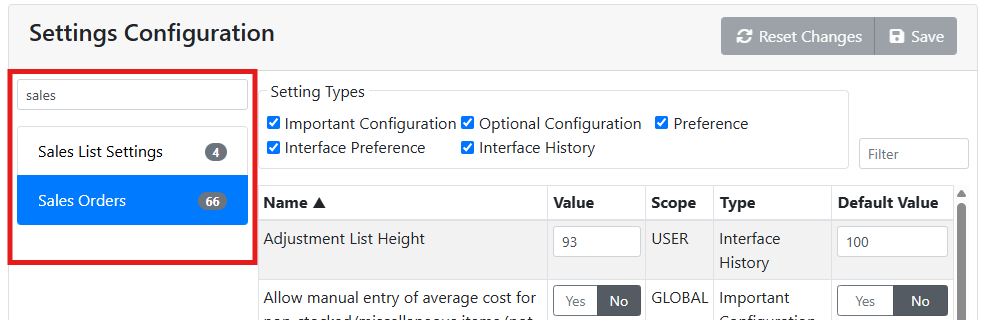
For example, I want to review all settings related to Sales Orders. I type ‘sales’ into the category name filter to quickly find the Sales Order settings.
Setting Types on the top let you filter settings based on what type of behavior they invoke. Unchecking a type will hide those settings from view.
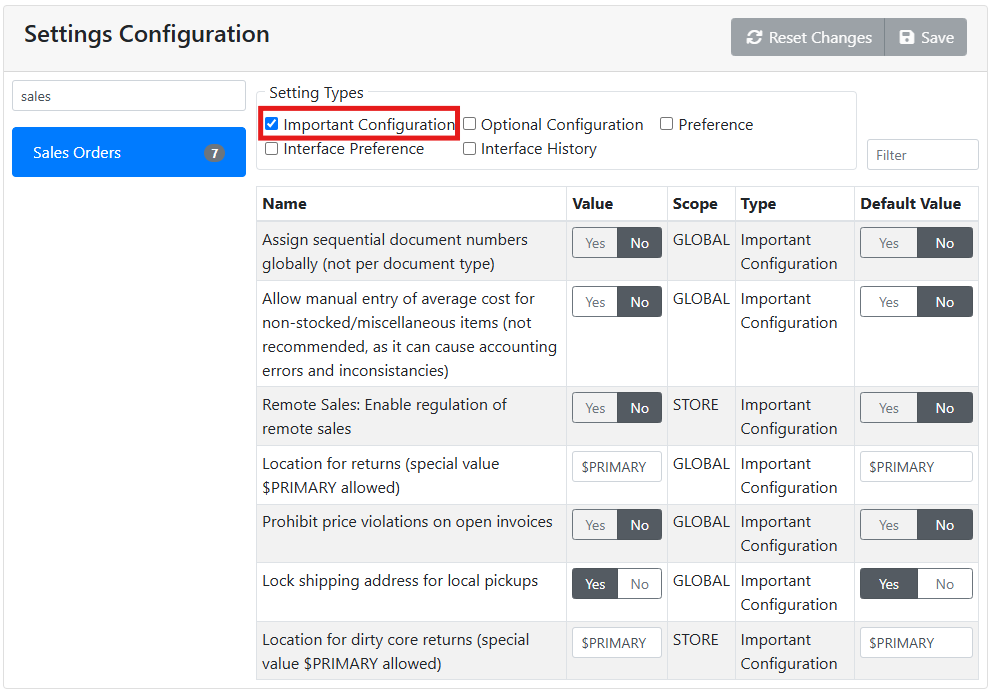
For example, unchecking some of the types will narrow the list significantly. When viewing the Sales Order settings, showing only Important Configuration types will show me a much shorter list of only 7 settings.
Lastly, using the filter box in the upper right will search the current table based on a key word match in any column.
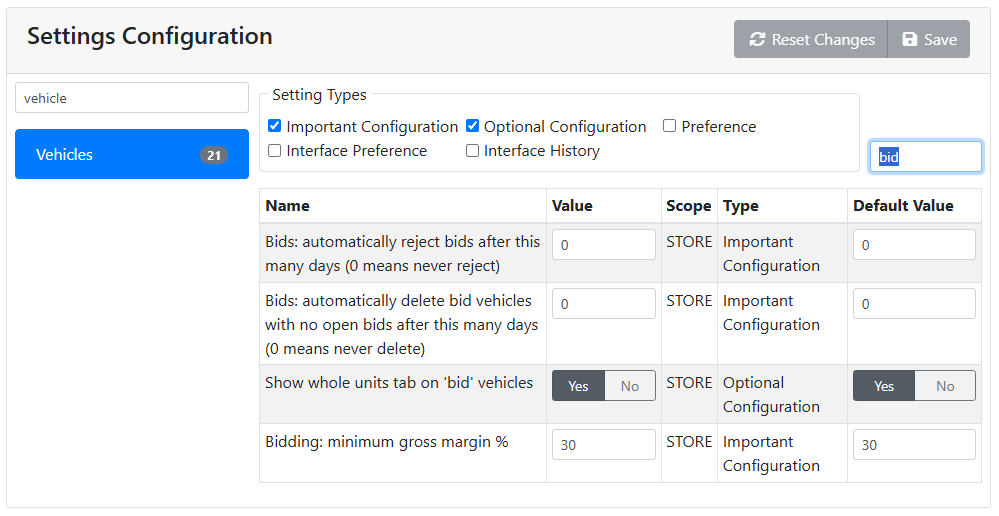
If I’m looking specifically for settings around vehicle bidding, I might select the Vehicles category, Important and Optional Configuration types, and type the word ‘bid’ into the filter box to find those specific settings.