Address Validation is a service used with sales tax calculation services in order to check that the address can be found and is formatted correctly.
If you are not yet using a tax calculation service and are interested, contact our team and we can help you get started.
📍 Validating an Address
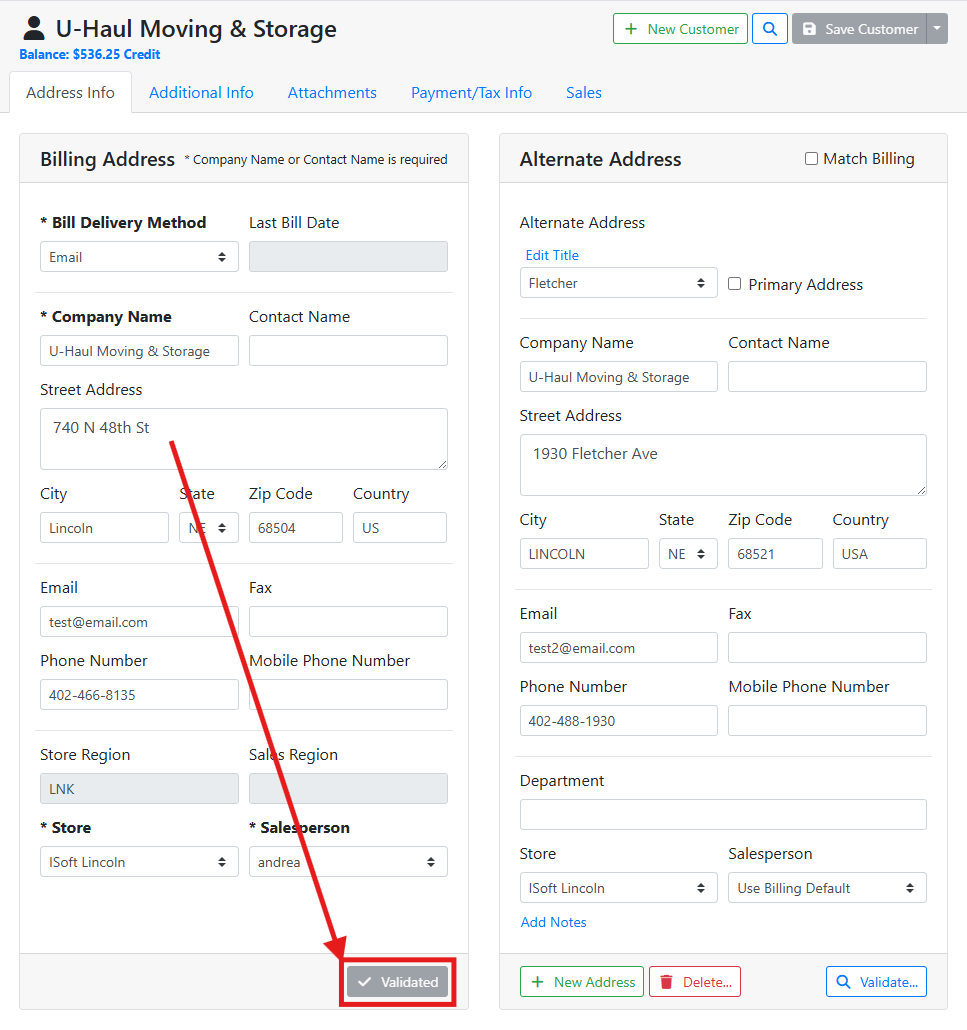
On a customer or vendor, near the bottom of an address you will see a Validate… button. If you are using Alternate Addresses, each address also has its own validate button so you can verify each one.
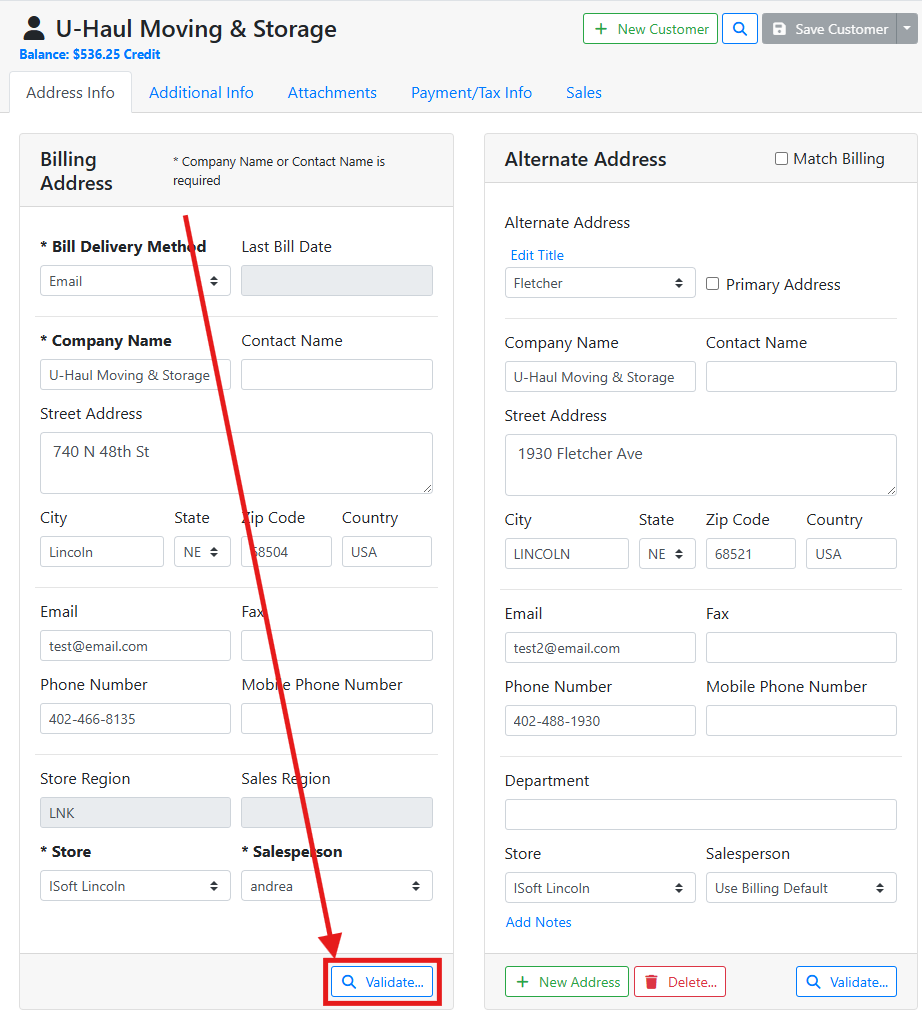
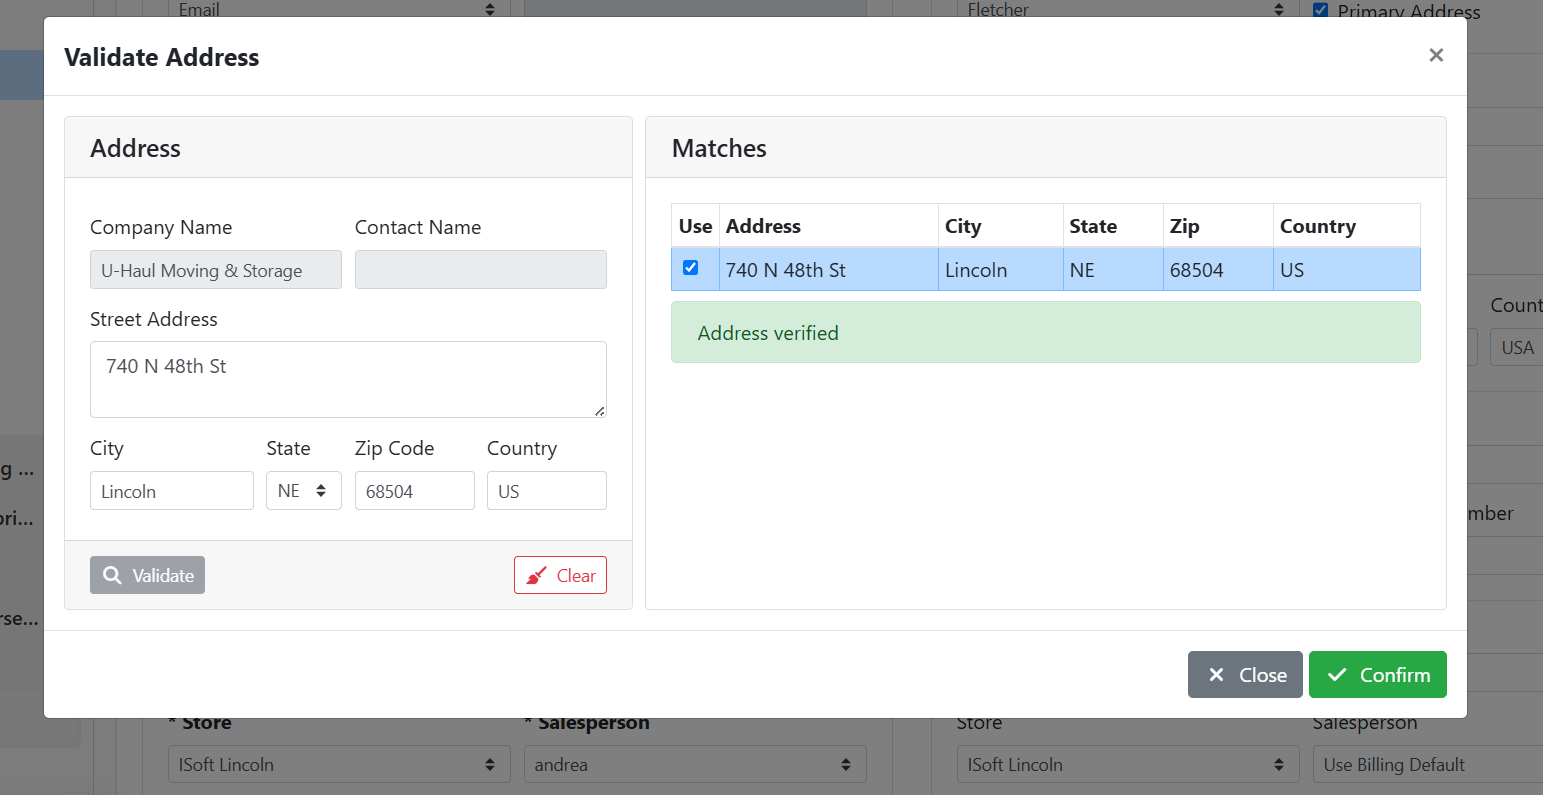
The Validate Address window will open and attempt to find the address in the tax service integration. The current address is listed on the left, with potential matches listed on the right.
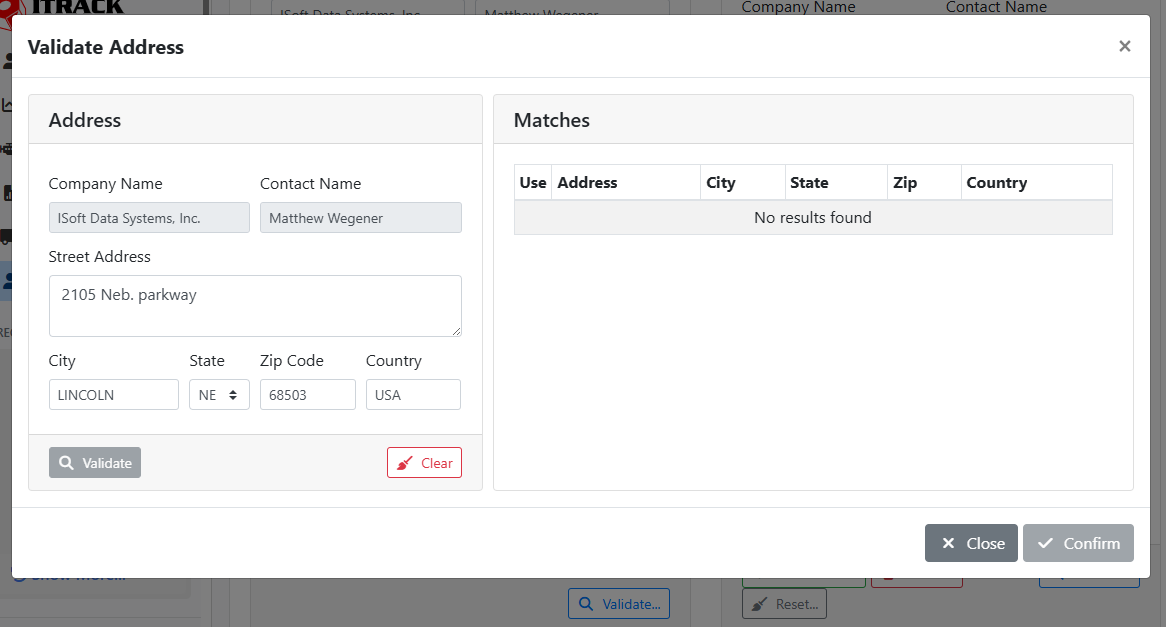
If the address can’t be found, the Matches table will indicate No results found. Check the address in the window.
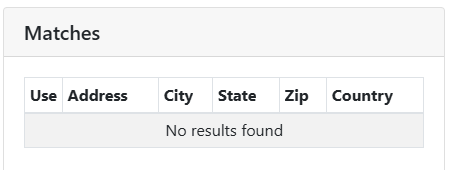
You can update the address without closing the window, and click the Validate button to try again.
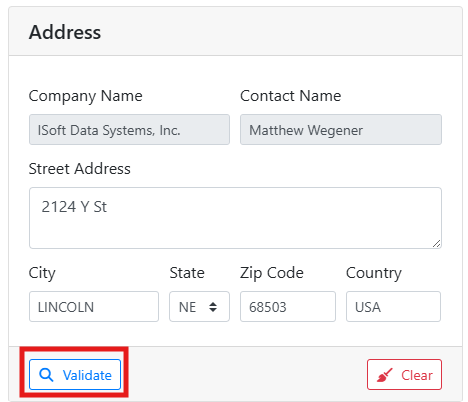
If a match or multiple matches are found, they’ll appear in the table to the right, and you can select the correct one. Spellings or abbreviations might be changed, such as Street > St. Click Confirm to close the window and save the validated address.
Addresses that have already been validated will have the Validate… button replaced with a gray Validated button.
In this example, the address 2105 Neb. parkway can’t be found.
Since Neb. is an abbreviation, I change it to Nebraska and click the Validate button again. This time, a match is found, but with Pkwy instead of parkway, and the zip code 68502 instead of 68503.
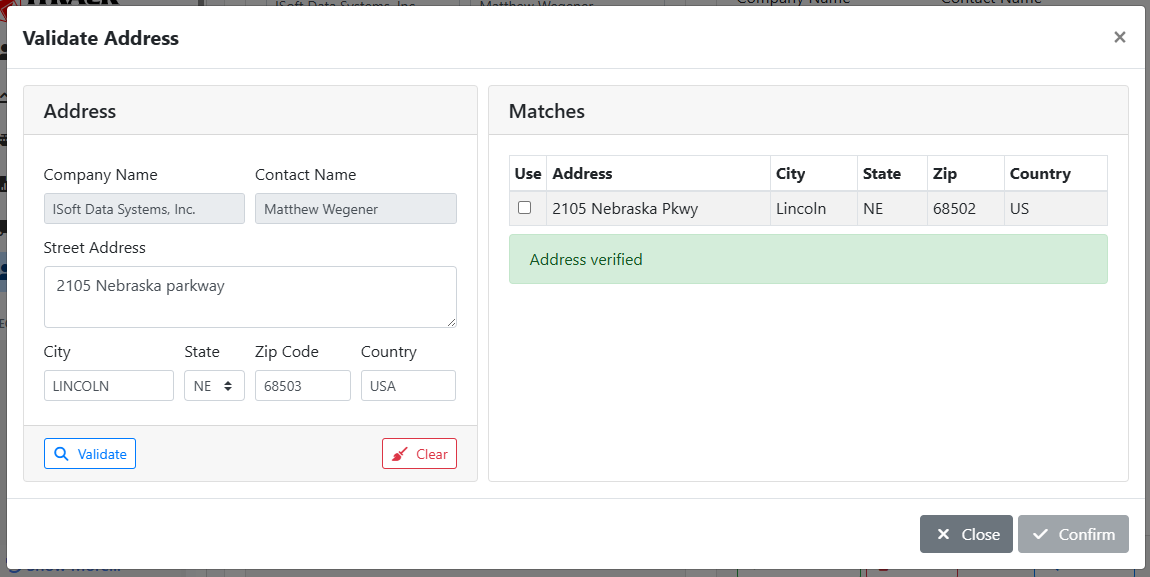
I mistyped the zip code and I’ll take the shortened abbreviation for Pkwy, so I will select the address match and click Confirm. The address for this record is now updated.

⚙️ Enabling Address Validation
If the Validate… button is gray, that means Address Validation is not enabled. In order to enable Address Verification, you will need an account with a tax calculation service, and they will provide you with an API key for the address service.
If you are not yet using a tax calculation service and are interested, contact our team and we can help you get started.
After you are signed up for a service, the API key needs to be entered for the store or stores using the service, and the service needs to be enabled in Settings.
🔑 Entering the API Key
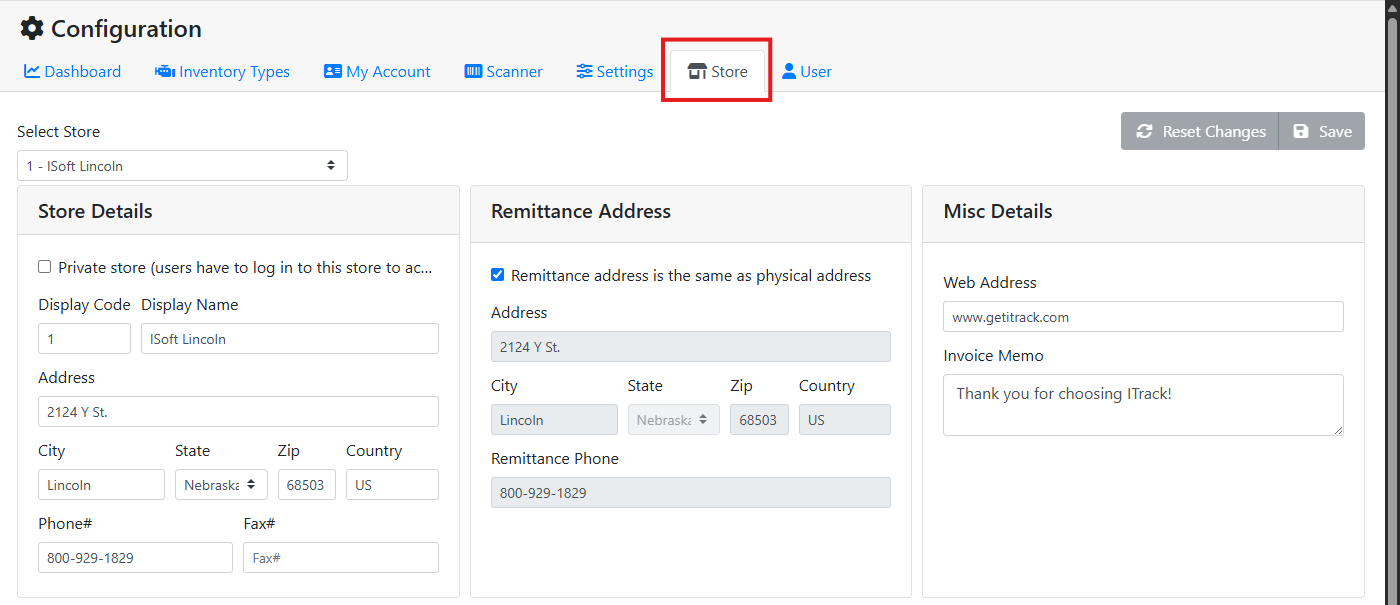
The API key needs to be entered on a Store. Select Configuration from the sidebar, then select the Store tab.
Read more about navigation.
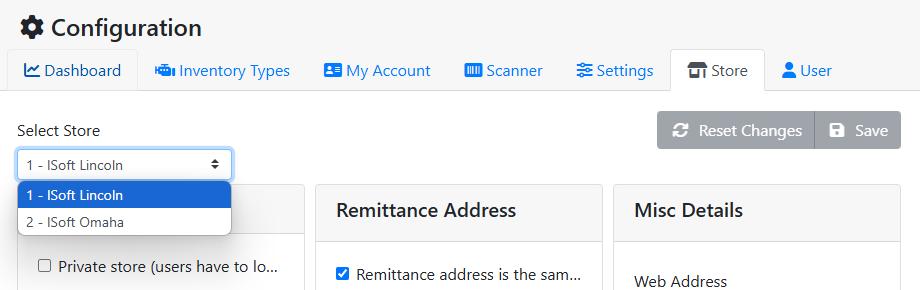
Use the Select Store menu to select the correct store.
Scroll to the Address Service box. Select your service from the Address Service menu, and enter the API key in the Address Service API Key field.
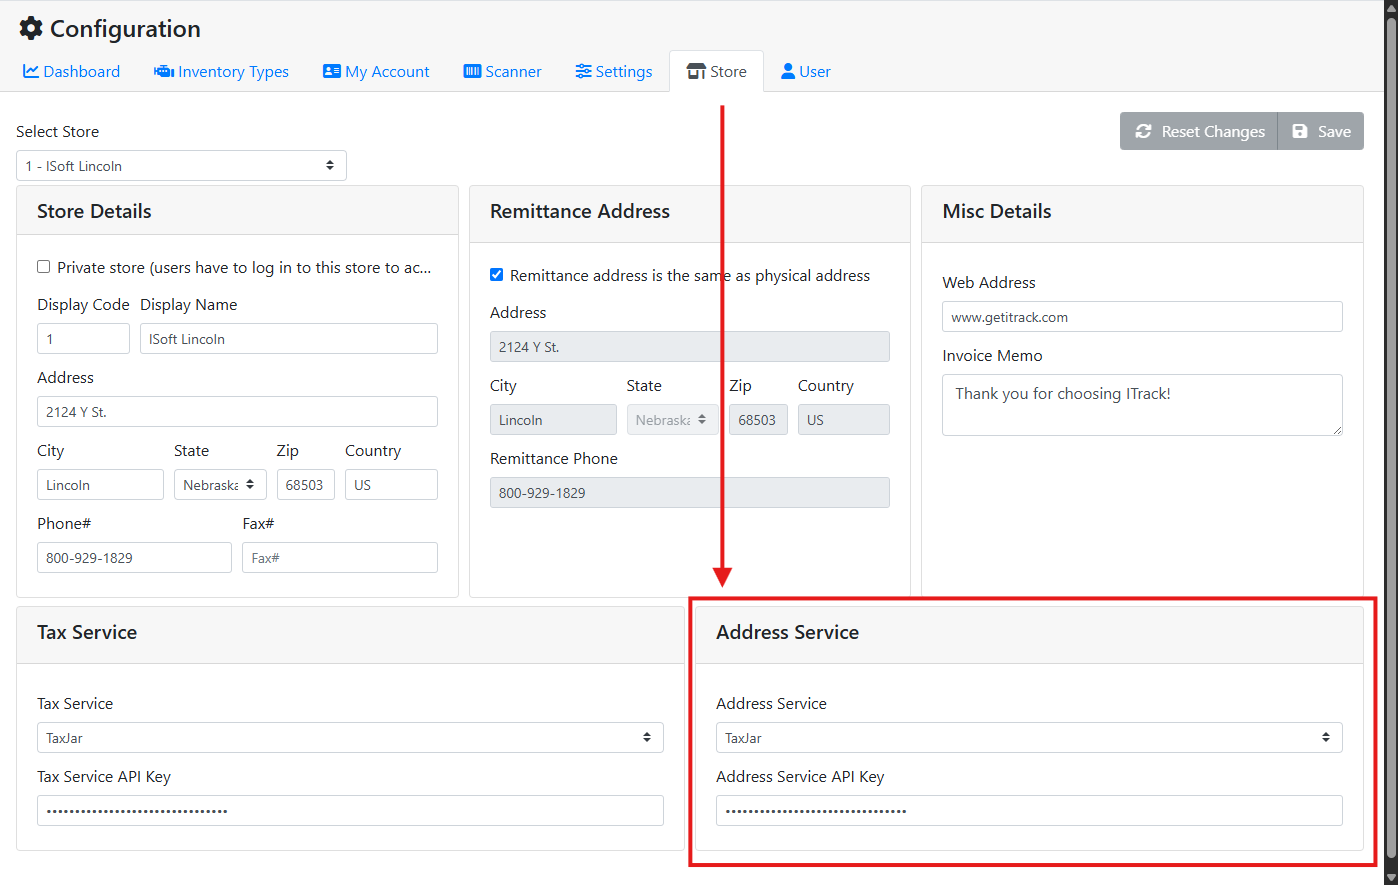
API keys tend to be complicated and long strings of letters and numbers. It works best to copy and paste the key to avoid typos.
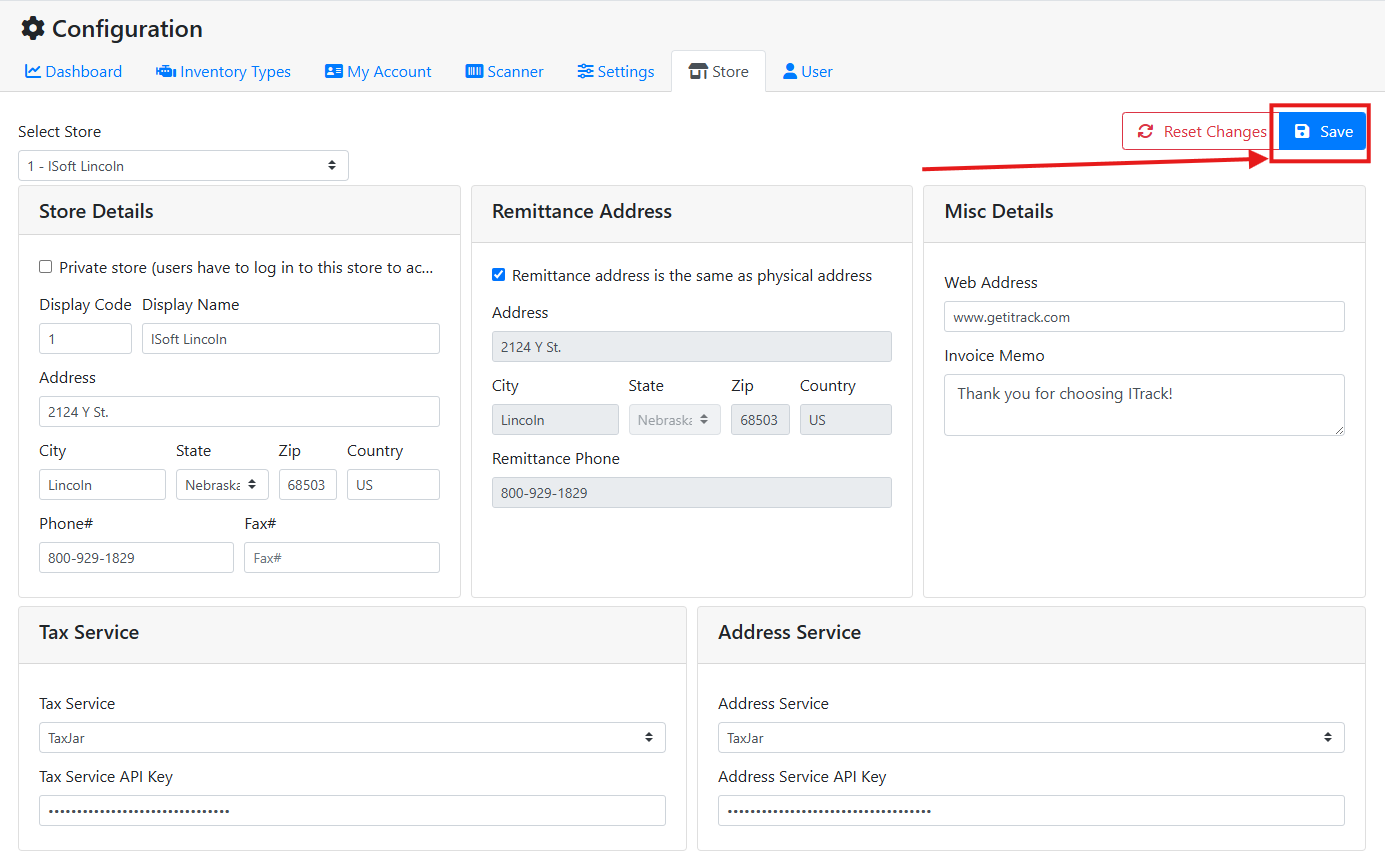
When finished, make sure to save your changes to the store. Repeat this process for all stores you want to use this service.
⚙️ Enabling the Service
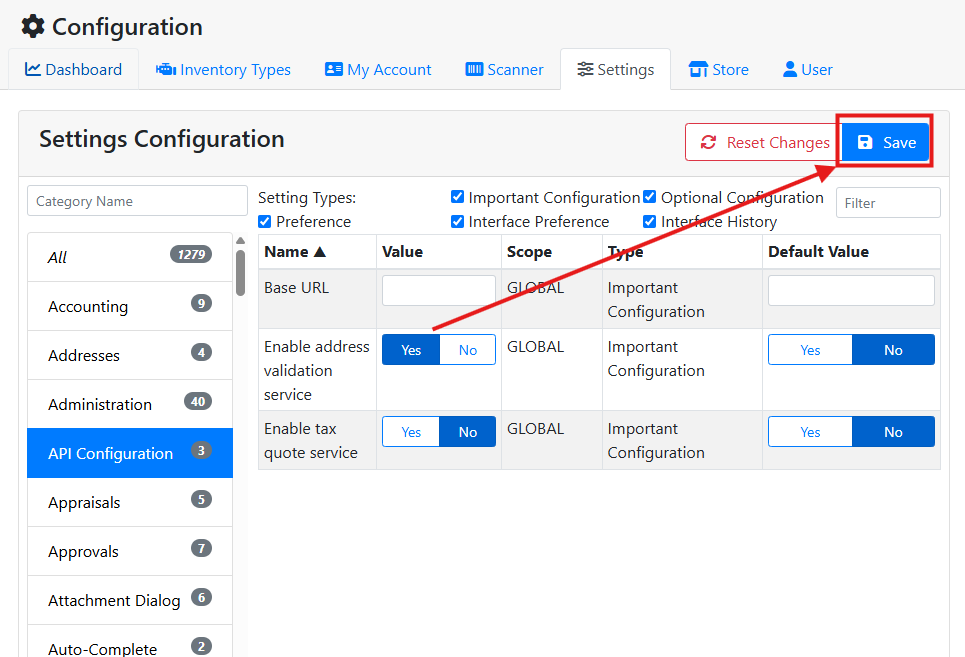
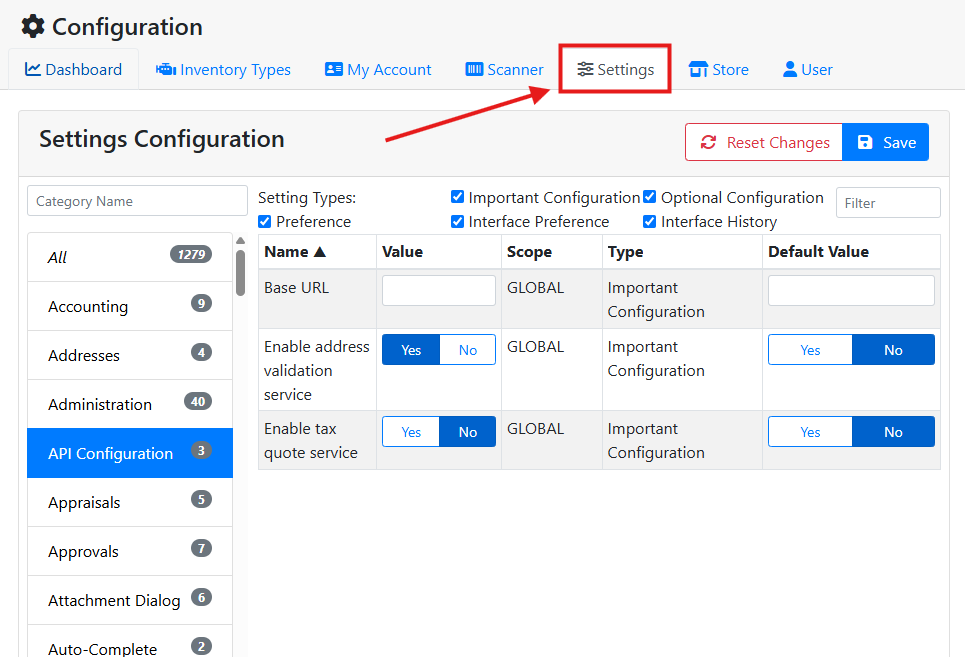
The Address Verification service also needs to be enabled in Settings. From the Configuration page, select the Settings tab.
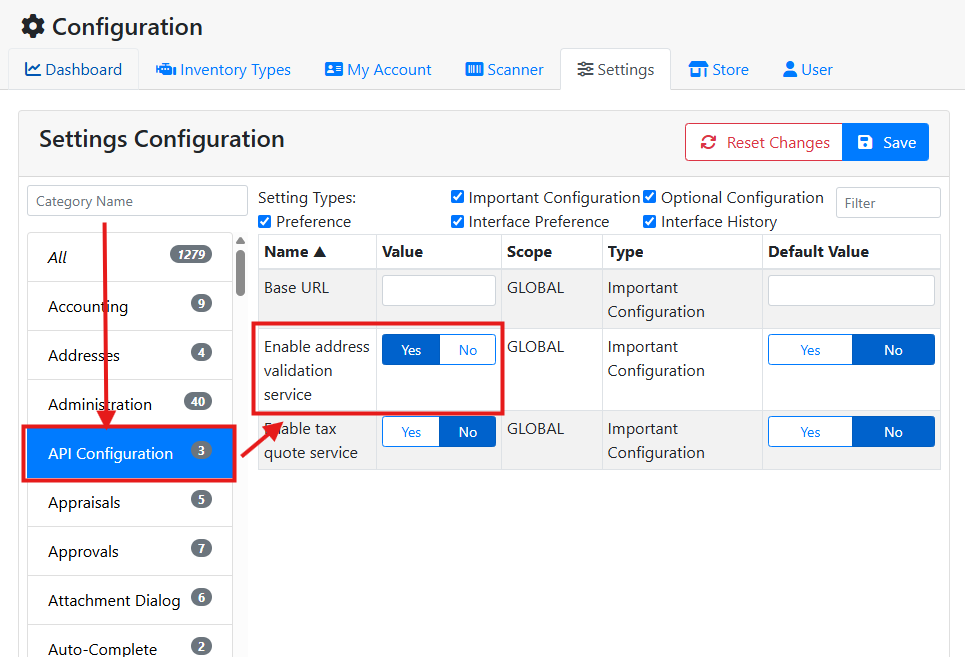
In the API Configuration category, find the Enable address validation service setting, and change the Value to Yes.
Use the filter boxes to make finding settings easier.
Save your changes when finished.