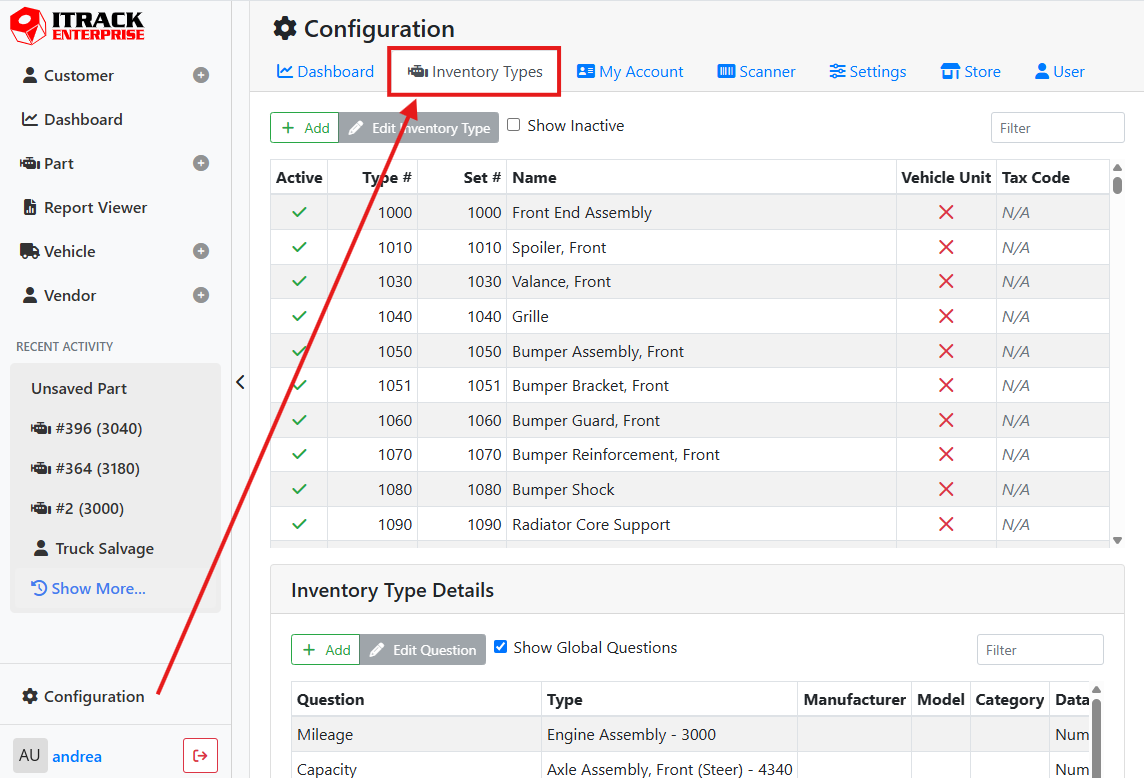
Inventory Types determine how inventory records are classified. Different inventory types will be treated differently and may have different default settings, different custom fields, and so on.
Your database comes with a default set of inventory types, but you can modify this list to match your company’s business model in the Inventory Type tab on the Configuration screen.
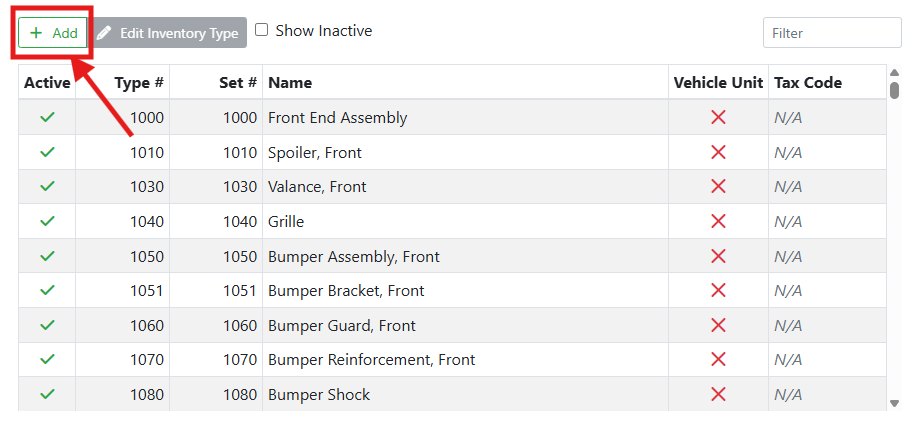
To add a new inventory type, click the +Add button near the top of the list.
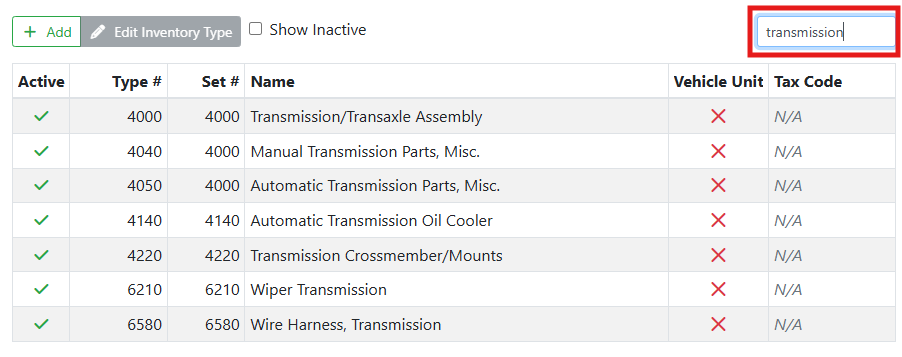
Use the Filter box to find inventory types matching a Type #, Set #, or Name.
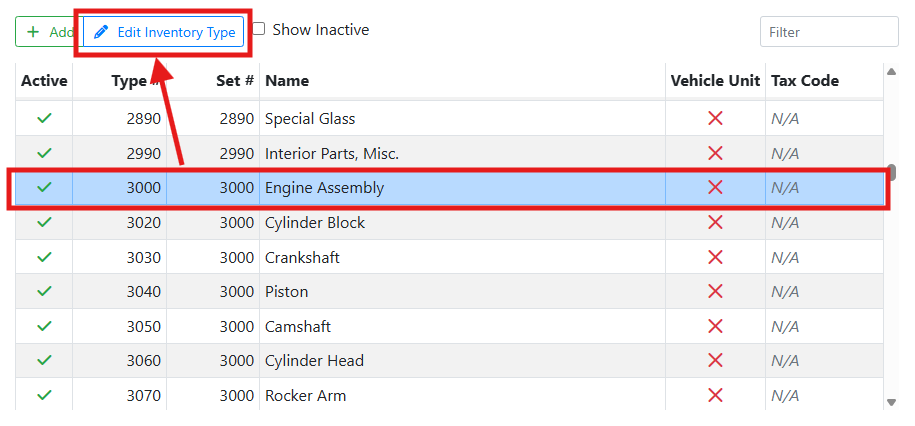
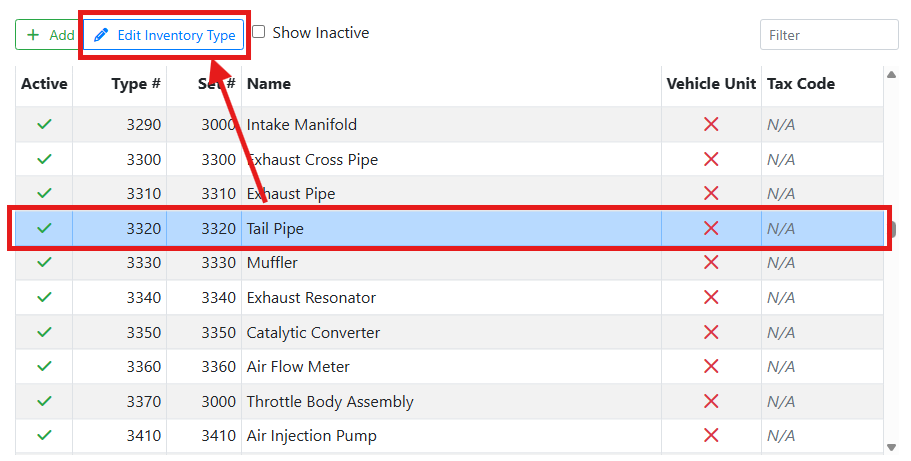
To edit an inventory type, select it in the list and click the Edit Inventory Type button.
🔧 Inventory Type Details
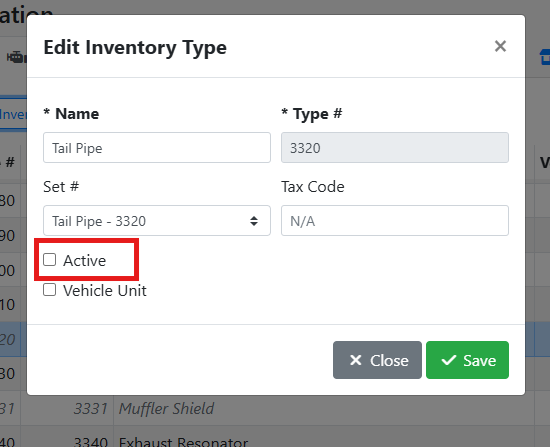
When making a new inventory type or editing an existing one, a window will open where you can set its details.

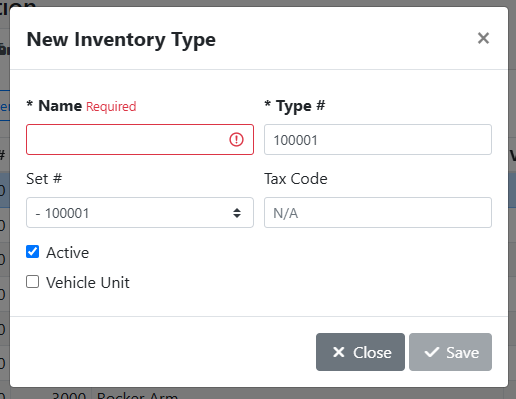
Name - The inventory type name used to identify the unique type of inventory.
Type # - The inventory type number is a unique code assigned to the inventory type. Since the Type # is an important field and must be unique, it can’t be edited once it’s been set.
Set # - The Set # is used when the inventory type is a component in an assembly. See Assembly Sets below.
Tax Code - The Tax Code is used when using a tax service integration. If you are not using a tax service integration, leave this field blank.
Read more about Tax Service integration.
Active - The Active checkbox indicates if the inventory type is active in lists. If unchecked, the inventory type won’t be available when making new inventory records and won’t be available for searching, but existing inventory can remain assigned to that type.
Vehicle Unit - Check this box if the inventory type references a vehicle unit. The inventory types representing vehicle units are used on the Vehicle screens instead of the Part screens.
🧰 Assembly Sets
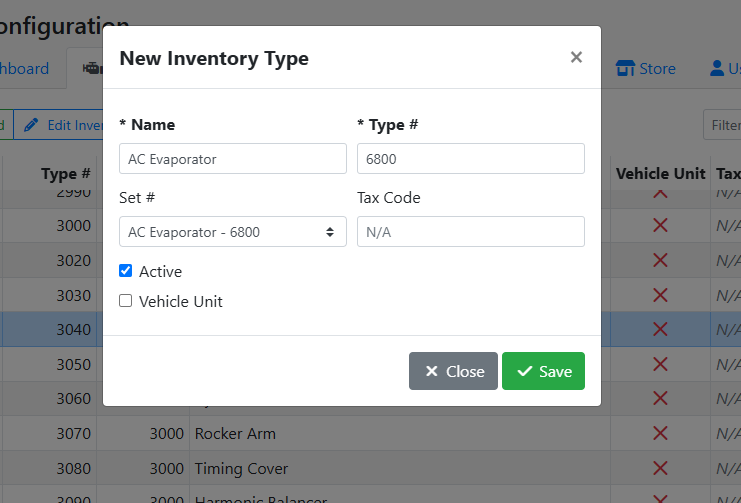
The Set # in Inventory Type Edit screen is used when a part is a component in an assembly. By default, when making a new inventory type, the Set # will match the Type #. If your inventory type is not a component in an Assembly, leave the Set # the same as the inventory type number.
In this example, I create an inventory type for an Air Conditioning Evaporator. It is not part of an assembly, so when I set the Type #, the Set # is automatically assigned to the AC Evaporator and I save this inventory type as it is.
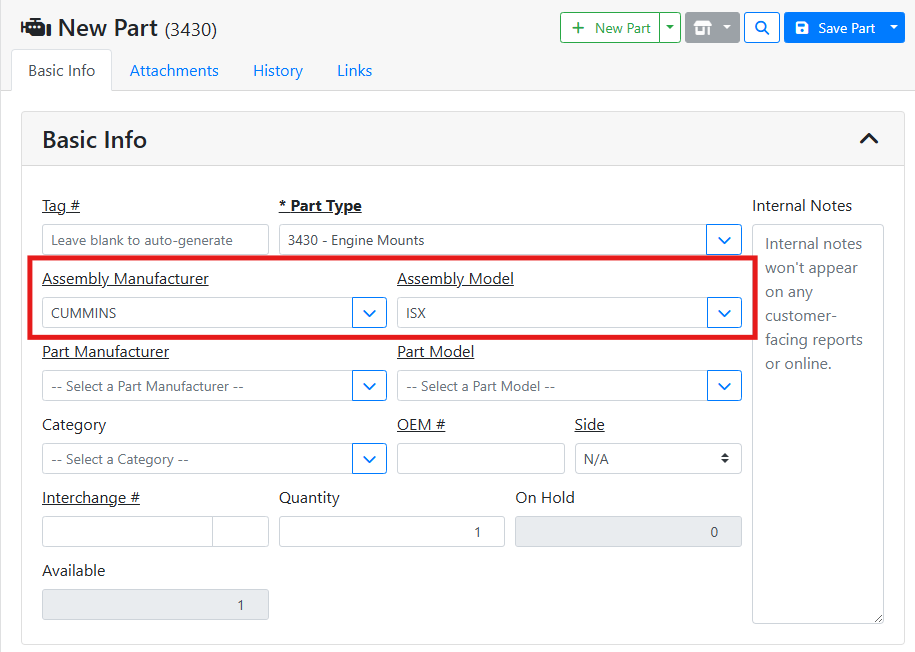
If your inventory type is component in an Assembly, select the assembly’s type number in the Set # field. This will assign the assembly’s manufacturer/model list to the component’s Assembly Manufacturer and Assembly Model fields on the Part screen.
In this example, I create a new inventory type for a Engine Mounts and give it a Type # of 3430. Since the engine mounts are a part of the engine assembly, I select Engine Assembly in the Set # drop down menu.

When I add a new part using the Engine Mounts inventory type, and I select the Assembly Manufacturer and Assembly Model, the list of manufacturers and models match the Engine Assembly part type.
➖ Deleting vs Deactivating an Inventory Type
Since the Inventory Type is critical to an inventory item, they can’t be deleted if they are actively being used by parts or vehicles. You will have to reassign inventory to a new type before an inventory type can be permanently deleted.
Instead, if you want to prevent an inventory type from being used without deleting it, you can deactivate it. Deactivating an inventory type prevents it from being searched and prevents it from being assigned to new inventory, without changing any existing inventory.
To deactivate an inventory type, select it in the list and click the Edit Inventory Type button.
In the edit window, uncheck the Active checkbox, and click Save.
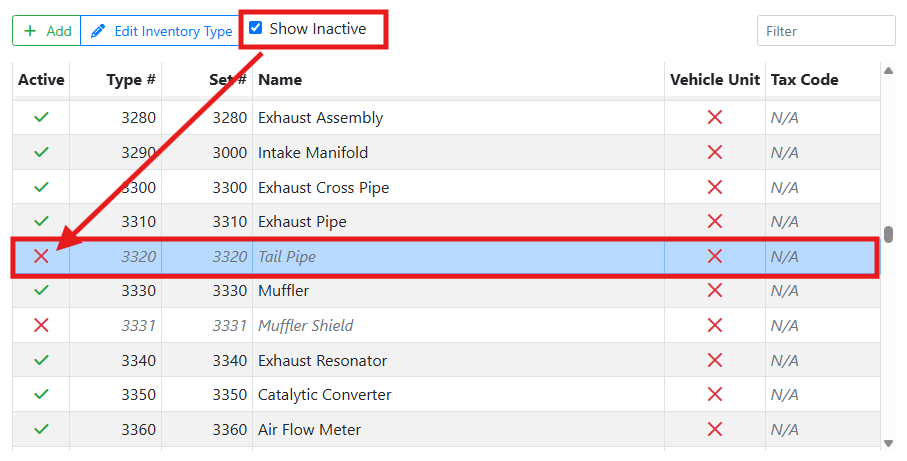
Check the Show Inactive checkbox at the top of the list if you would like to see your deactivated inventory types in the list. Inactive types will have an X in the Active column.
If you need to permanently delete an Inventory Type, you can do this in ITrack Enterprise Desktop. You will be able to reassign inventory to a new type at that time.
⚙️ Custom Fields / Q&A
You may find that you need to capture more details about your inventory than the default fields supplied in the software.
Read more about configuring Custom Fields.
❓ Why Are Some Custom Fields Not Showing in Inventory Type Configuration?
Some Custom Fields may not appear in the Inventory Type Details box, if they were created as Additional Fields in ITrack Enterprise Desktop. These fields can be used as normal text fields online.
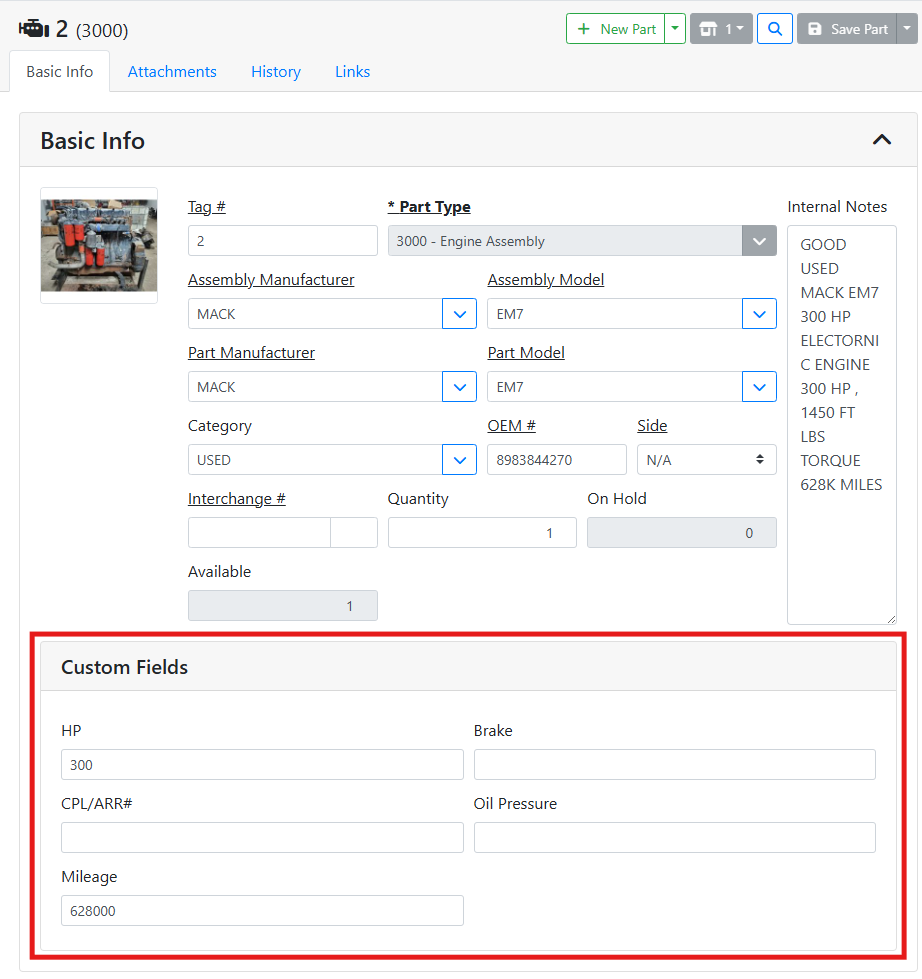
For example, my Engine Assemblies have 5 custom fields showing on the Part screen.
However, in the Inventory Type Configuration screen, I only see the Mileage question.
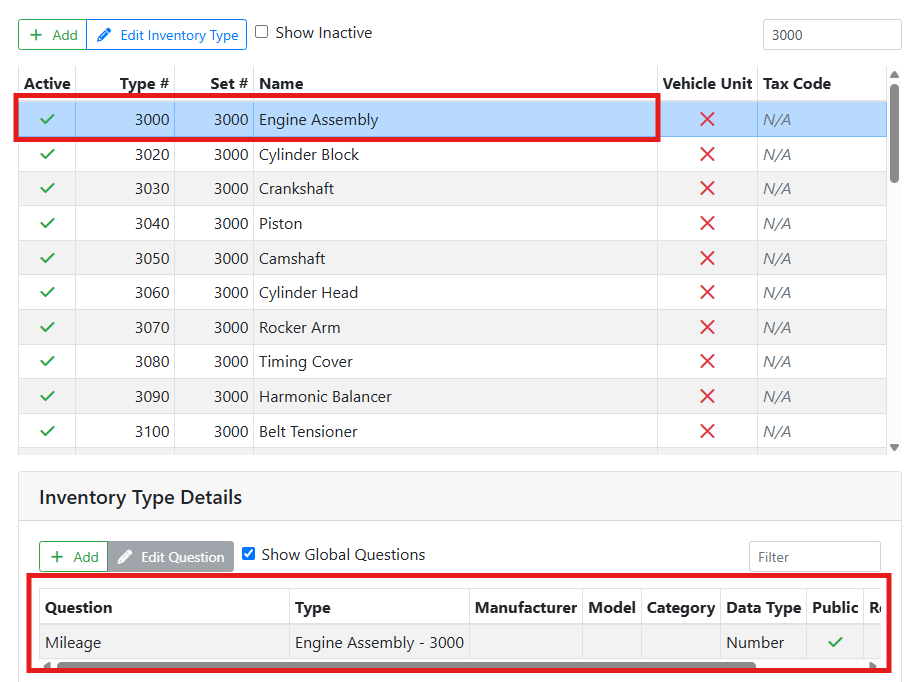
The other 4 fields are configured as Additional Fields in ITrack Enterprise Desktop.
Additional Fields can be used online, but to make any edits, you will need to use ITrack Enterprise Desktop.