Permissions control what actions a user is allowed to take in ITrack. Having permissions set correctly can ensure that employees are blocked from performing actions you don’t want them to take in the data, such as preventing service employees from overriding accounting configuration, or preventing salespersons from overriding a part’s cost.
Permissions can be granted to users directly, or they can be granted to a user by using Groups. Groups make it easier to manage employees that have overlapping responsibilities and job titles.
Permissions are always additive. This means that if a user is a member of two groups, but one group disallows an action and the other allows it, the user will be allowed to do the action.
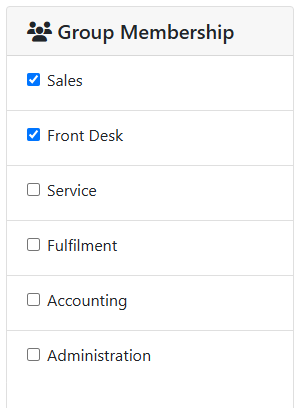
You can see what group(s) a user is a member of in the Group Membership table. Users can be a member of more than one group.
Read more about User Groups.
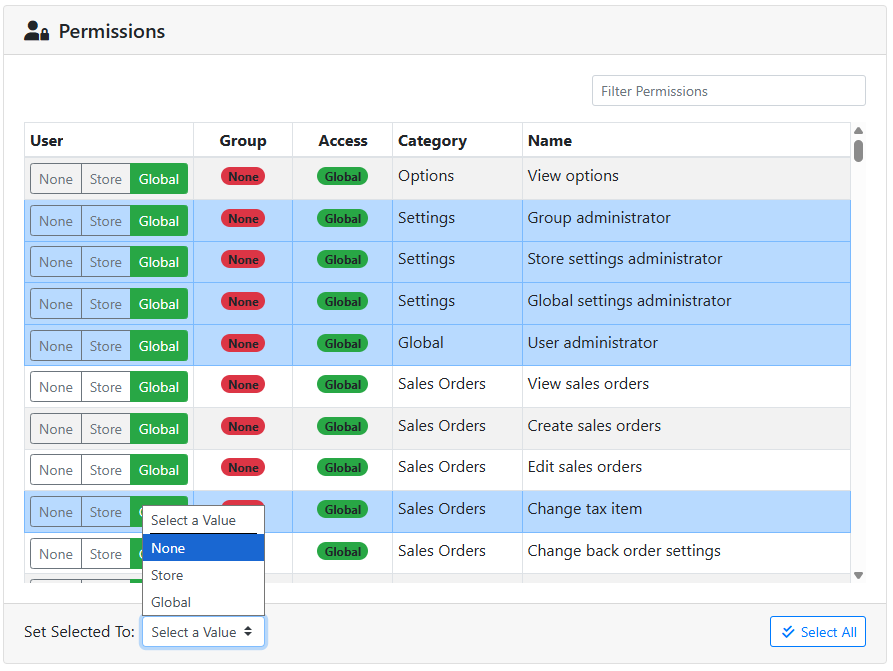
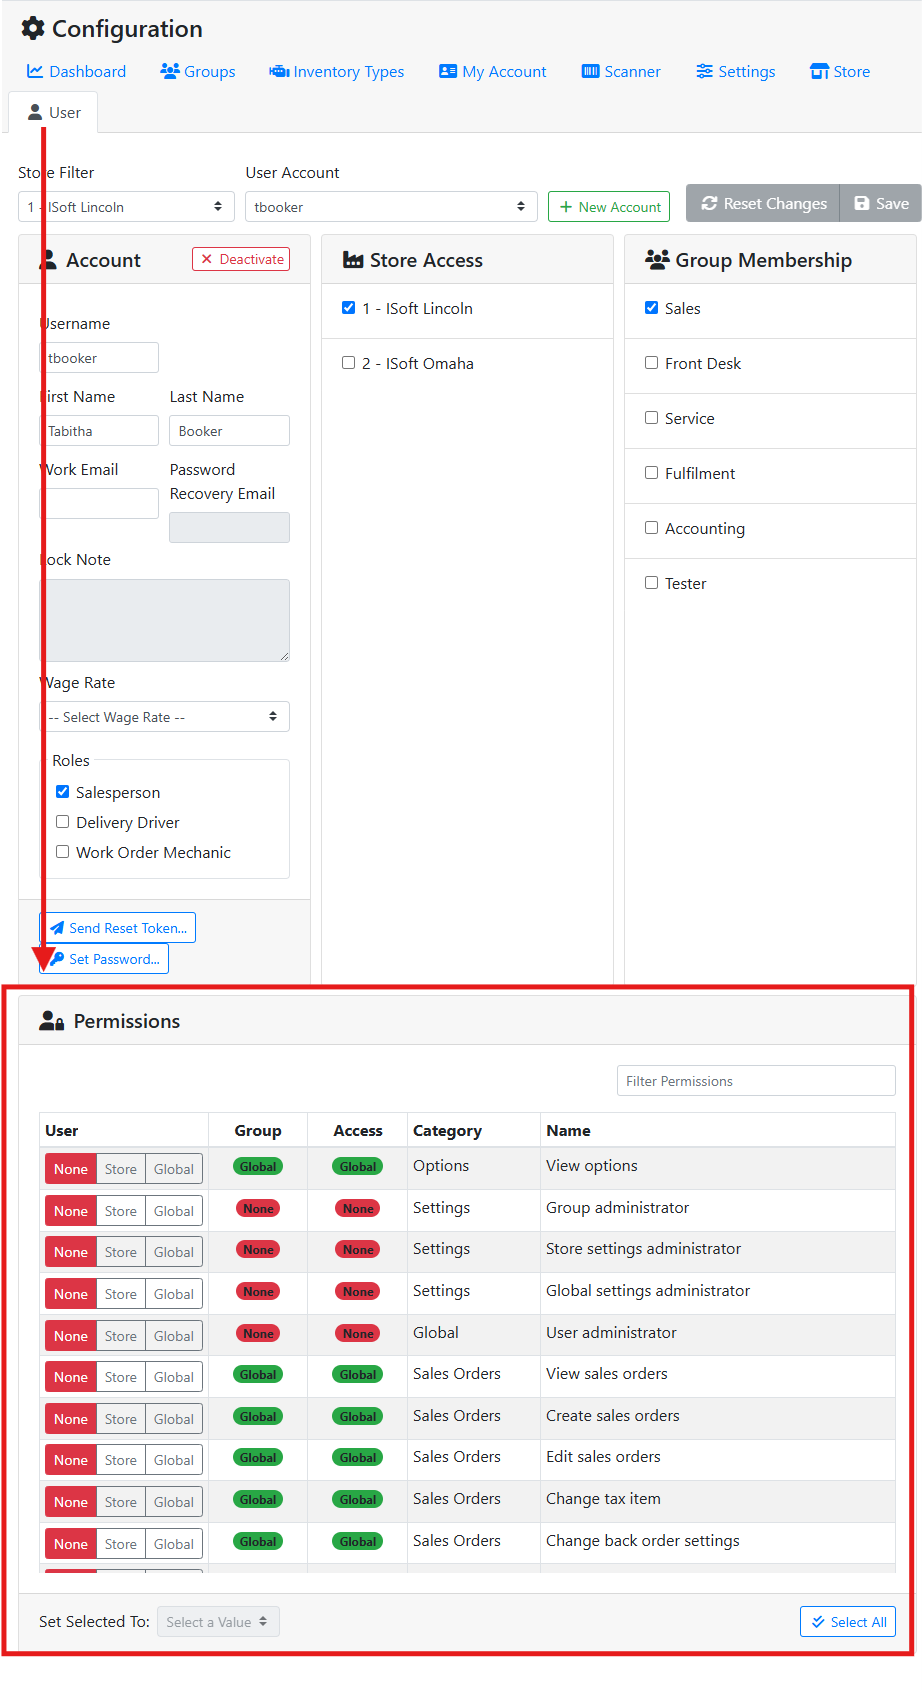
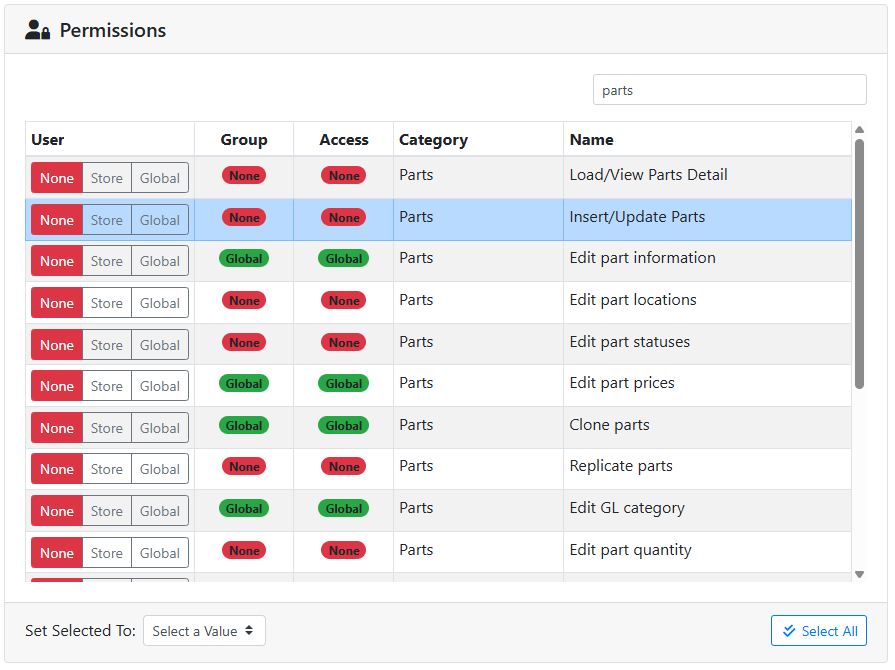
The Permissions table on the User screen shows an overview of all of the selected user’s permissions, which permissions are granted by group membership, and what their overall access level is. You can use this table to override the user’s permissions directly.
Permission levels can either be None, Store or Global.
None - This user doesn’t have this permission.
Store - This user has this permission, but only at the store(s) they have access to.
Global - This user has this permission across all stores.
User - Use this column to override the user’s permission directly. If you’re using groups, you might see all permissions set to None here, since the user will get permissions from the user group.
Group - Shows the permission level this user is granted by the group(s) they are a member of.
Access - Shows the user’s ultimate permission value, based on all their group memberships and any overrides to them directly.
Category - The category the permission belongs to.
Name - The name of the permission.
✏️ Modifying Permissions
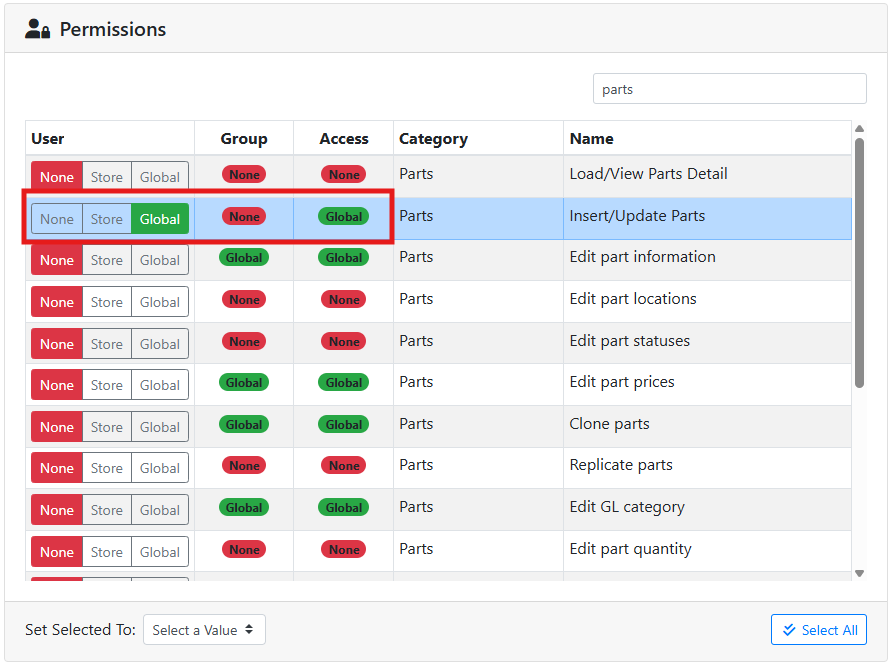
To override a user’s permissions directly, use the permission level buttons in this table, and make sure to click Save when you are finished.
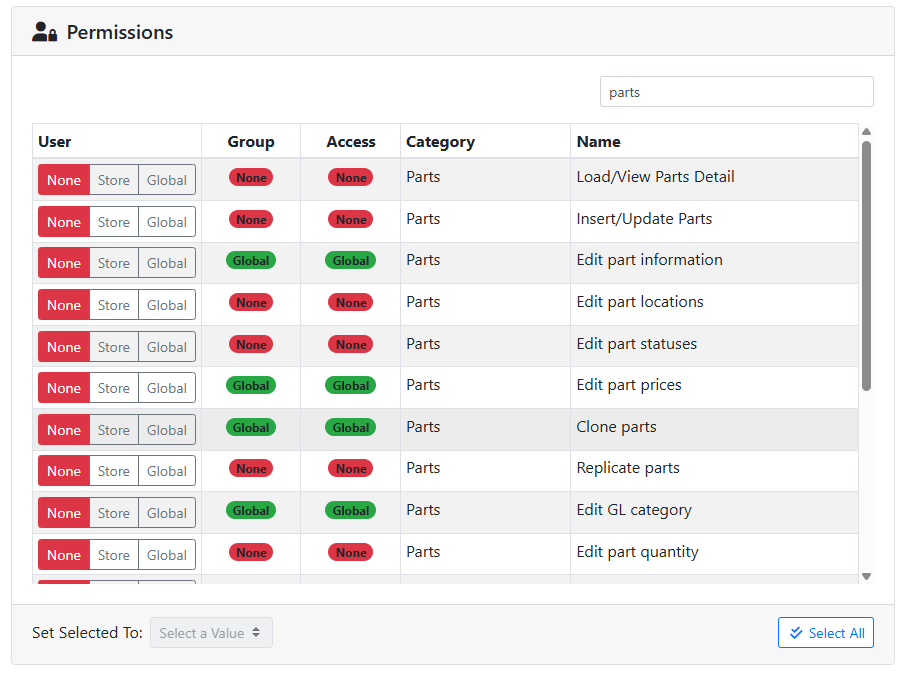
For example, I have a user that is a member of a group but I want to give them one more permission to create parts. The user’s group doesn’t let them create parts, so their current access is None.
On that permission, I set the permission level to Global (all stores). The Group column still says None since the user didn’t get this permission from the group, but the Access column shows Global to reflect the permission level the user has.
You can also assign permission levels to a range of permissions at once by using the controls at the bottom of the table. Click on permissions in the table to highlight them, or use the Select All button at the bottom to select more than one permission. Then use the Set Selected To menu to choose what permission level to assign all selected permissions to.